How Thick Should Polygel Nails Be?
With the rising popularity of polygel nails, many DIY nail enthusiasts want to know: how thick should polygel nails be? Getting the thickness right is crucial for achieving an attractive, natural look that lasts.
In this comprehensive guide, we’ll walk through the ideal polygel thickness for a flawless manicure.
If you’re short on time, here’s a quick answer: the perfect polygel thickness is 2 to 3 millimeters, or the thickness of a credit card. Thinner polygel won’t be strong enough, while thicker polygel will look bulky and unnatural.
The Ideal Thickness for Polygel Nails
2 to 3 Millimeters is Recommended
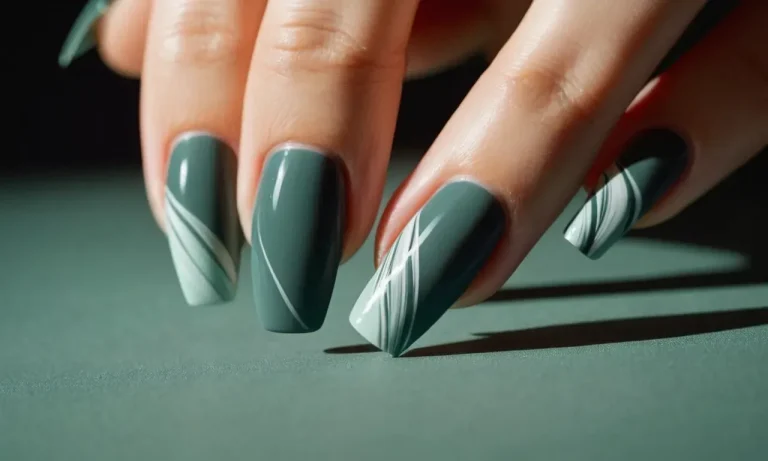
The ideal thickness for polygel nail extensions is generally considered to be between 2-3 millimeters from the natural nail bed. This allows for a natural looking enhancement that is not too thin and prone to breakage, or too thick and bulky looking.
Most professional nail technicians recommend staying within this thickness range for the perfect polygel manicure.
Any Thinner Risks Weakness and Peeling
Polygel nail extensions thinner than 2 millimeters risk being too weak and flexible. This can lead to the extensions peeling or cracking off from the natural nail prematurely. Polygel is flexible like gel polish, but still needs some thickness to give it structure and durability.
Too thin and the polygel may not adhere properly or last as long as it should.
For those wanting an ultra natural look, a thickness on the lower end of 2-3 millimeters is best. But dipping below 2mm is not recommended, unless only doing a polygel overlay on the natural nail and not a tip extension.
Otherwise, too thin of a polygel application can mean wasted time and money if it does not hold up for very long.
Any Thicker Can Look Bulky and Fake
On the other end of the spectrum, polygel nails should not extend more than 3 millimeters from the nail bed. Anything beyond this thickness risks looking artificial and bulky. The extension begins to lose its natural look the thicker it gets.
| Polygel Thickness | Appearance |
|---|---|
| 2mm – 3mm | Natural looking |
| >3mm | Bulky, fake looking |
For those who prefer a bolder, more dramatic nail look, a 3mm polygel extension is still ideal. Going beyond 3mm does not tend to enhance the look further, but rather detracts from it by being overly thick.
Maintaining the 2-3mm thickness whether going for a natural or bold look allows for the perfect balance of strength, durability and aesthetic appearance. As seasoned nail experts advise, keeping polygel nails within this ideal range will ensure client satisfaction and beautiful nails that last.
How to Measure and Apply Polygel at the Right Thickness
Use a Ruler or Credit Card to Check Thickness
When applying polygel nails, it’s crucial to use the appropriate thickness. According to nail experts, the ideal polygel thickness ranges from 1.5-2mm. Using a ruler or credit card, regularly measure the nail thickness as you apply the polygel to ensure proper thickness.
Here are some tips when measuring polygel nail thickness:
- Place a ruler or credit card vertically beside the nail to compare.
- The nail tip should not be thicker than 2mm.
- The total thickness near the cuticle area should not exceed 1.5mm.
Keeping the polygel application below 2mm allows for a natural look and prevents excessive weight or pressure on the natural nail.
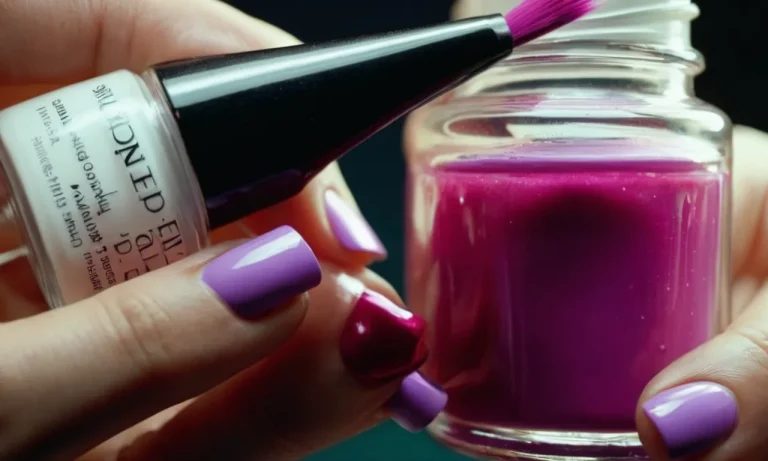
Apply Polygel in Thin, Even Layers
When applying polygel, use multiple thin layers instead of one thick application. According to nail care guides on sites like Nail Care HQ, thin layers:
- Reduce bubbling and over-filing later
- Dry and cure more evenly under UV/LED lamps
- Create a smooth, professional finish
Each layer should be around 0.5mm thick. Apply 3-5 gradual layers to reach the target 1.5-2mm overall thickness. Use sparing amounts of polygel and distribute it evenly across the nail plate before curing.
File and Shape Carefully to Maintain Thickness
When filing and shaping completed polygel nails, take precautions to avoid reducing thickness:
- Use a light filing touch, particularly around edges
- File gently in one direction, not back-and-forth
- Avoid using heavy pressure, which can thin down layers
Check thickness with a ruler or card periodically. Stop filing if you near or exceed the 1.5mm mark near the cuticle and 2mm at the tip. Proper shaping and gentler filing preserves the durability of polygel nails long-term.
Consider Nail Length When Deciding Thickness
Longer Nails May Need More Thickness for Strength
When getting a polygel nail extension, it’s crucial to consider the length you desire for determining the appropriate thickness. Longer nail extensions require extra sturdiness and structure to prevent cracking or breaking. The standard thickness for short to medium length extensions is around 2-3mm.
However, if your nails will extend more than 1cm from your natural nails, it’s best to go with 3-4mm thickness or more for reinforcement.
Shorter Nails Look Best With 2mm Polygel
For shorter nail lengths, such as just slightly longer than your natural nail, a polygel thickness around 2mm creates a natural look. Going above 3mm tends to look bulky and unnatural on short nail extensions. Here are ideal thicknesses based on nail length:
- Natural length: 1.5 – 2mm
- Slight extension: 2 – 2.5mm
- Medium extension: 2.5 – 3mm
As a rule of thumb, shorter nails look best with thinner polygel. The shorter you go, focus on creating sleek, slender extensions for proportion.
Almond and Stiletto Shapes Require a Thicker Apex
For pointed tip shapes like almonds or stilettos, an apex (the highest point of curvature on the nail)Thickness is vital. These elegant styles need an apex of at least 3mm-4mm to prevent cracking and maintain structural integrity.
A sturdy apex makes tapering to a fine point possible without risk of breaks. For round or square shapes, you can get away with 2mm-3mm at the apex or thickest area of the nail.
| Shape | Minimum Apex Thickness |
| Round | 2mm |
| Square | 2mm |
| Almond | 3mm |
| Stiletto | 4mm |
In the end, use your best judgment based on the length and shape you want. Thinner often looks better, but too thin risks damage. Consider an experienced nail tech’s thickness recommendations as well for the most durable, balanced extensions.
Troubleshooting Problems Caused by Polygel That’s Too Thick or Thin
Thin Polygel Peels and Breaks Easily
Polygel that is applied too thin can lead to a number of frustrating problems. The main issue with thin polygel is that it does not have enough structure and strength, making it prone to peeling, cracking, and breaking.
According to nail care experts, polygel should be applied at a minimum thickness of 2-3mm for proper strength and durability. When polygel is thinner than this, it becomes weak and flexible. As your natural nails grow out, the bond between the thin polygel layer and your natural nail can weaken, leading to peeling and lifting at the edges.
Thin layers of polygel are also more likely to crack or break from impacts or pressure. Even small knocks and snags can cause cracks because the polygel does not have enough thickness to withstand stress. This damage further weakens the polygel, causing more lifting and peeling.
Thick Polygel Looks Bulky and Fake
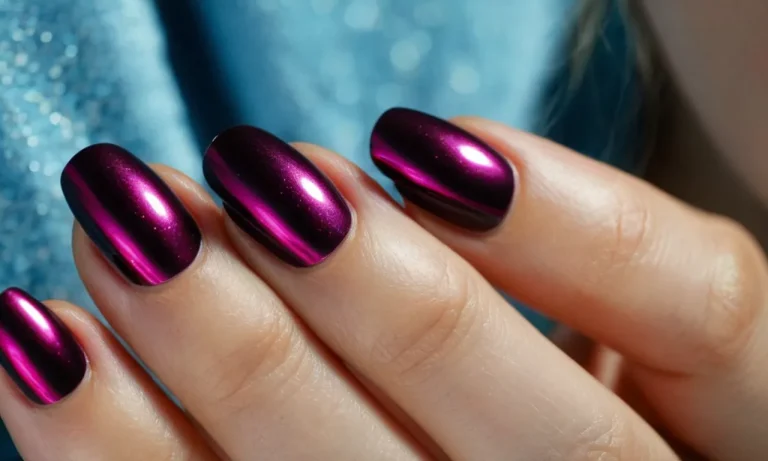
While thin polygel is prone to damage, polygel that is too thick can also lead to problems – primarily in the appearance department. Polygel applied at a thickness of over 3mm will look bulky and unnatural.
Excessively thick polygel has a fake, acrylic-like look that lacks the natural sheer finish of properly-applied polygel. It adds a lot of bulk and length to the nails, which often does not complement the natural proportions of your hands and fingers.
Thick chunks of polygel also tend to have an uneven, bumpy surface texture. This takes away from the smooth, sleek finish that makes polygel so attractive when applied correctly.
Fixing Problems Caused by Improper Thickness
The good news is that problems caused by polygel that is too thin or thick can be fixed relatively easily:
- For thin polygel that is damaged, peel off the lifting edges and fill in with a new layer of polygel. Buffing the surface first will help the new layer adhere properly.
- Thick, bulky polygel can be thinned and reshaped using a coarse nail file or electric nail file. File down and smooth out the surface to reduce bulk and length.
- To avoid thickness issues in future, use nail forms and guides to help estimate 2-3mm thickness before curing. And remember, less is more with polygel!
Getting the right thickness with polygel does take some practice. But mastering application techniques will help you avoid many common polygel problems. With the right thickness and application method, you can get flawless, natural-looking polygel nails that last!
How to Remove Thick Polygel Safely
Avoid Picking or Peeling Thick Polygel Off
Removing thick layers of polygel can be tricky. It’s important not to just start peeling or picking the polygel off, as this can damage the natural nails underneath. The adhesion between the natural nail and polygel is very strong, so haphazard removal can pull off layers of the natural nail or cause cracks and tears, leading to a painful experience.
Instead, be patient and allow the polygel to soak thoroughly to dissolve the adhesion before attempting to remove it. Rushing the process or getting frustrated will only lead to pain, damage of the natural nails, and incomplete polygel removal leaving residue behind.
Use Foil Wraps and Acetone to Gently Dissolve
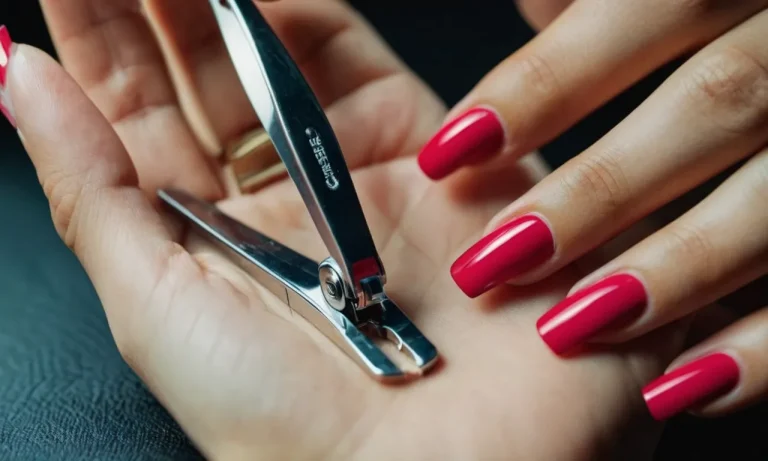
The safest and most effective way to remove thick polygel is to wrap the nails in aluminum foil soaked in pure acetone. This allows the acetone to penetrate the polygel layers and dissolve the adhesion and polymers.
Start by trimming the length of the polygel nails with nail clippers if they are very long. Then use cotton balls or nail pads soaked in acetone and wrap each finger securely in aluminum foil. Leave the foil wraps on for 15-20 minutes before gently trying to slide off the polygel.
For very thick polygel, repeat this process until the product has dissolved enough to remove.
The foil wrap method is ideal because it keeps the acetone from evaporating so it can fully break down the polygel. It also helps catch any polygel pieces that come off so you aren’t left with a mess. Just be sure to use 100% pure acetone, as diluted acetone may not be effective enough.
File Remaining Polygel Residue
After removing the bulk of the thick polygel, there may still be some residue remaining on the natural nails. Use a coarse nail file in a back and forth motion to gently buff away the residue. Be careful not to over-file or you could damage the natural nails.
If there are still some stubborn areas of residue, you can try wrapping those fingers again in foil and acetone for 5-10 more minutes. This should help dissolve the remaining polygel so it can be wiped or filed off. Just be patient and allow the acetone time to penetrate and break down the product.
Once all residue is removed, apply cuticle oil or nail moisturizer to hydrate the natural nails after the drying effects of the acetone soak. With some time and TLC, your nails will recover and you’ll be ready for your next fabulous polygel manicure!
Conclusion
Getting the perfect polygel thickness takes some practice, but following the 2 to 3mm guideline will set you up for success. Measuring as you go and applying thin, even coats is key to achieving strong, natural looking nails.
Avoid going too thick or thin, and troubleshoot any issues caused by improper thickness. With the right techniques, you’ll be a polygel pro in no time!