How To Make Paper Nails
Looking for a creative DIY project or craft activity? Making paper nails is an easy, fun way to create decorative nails out of folded paper. These homemade nails require only basic craft supplies like paper, glue, and scissors to put together.
Once assembled, they can be used to embellish cards, scrapbooks, gift wrap, wall hangings, and more.
If you’re short on time, here’s the quick answer: Paper nails are made by folding strips of paper accordion-style, gluing the folds together, then cutting or tearing the paper into nail shapes before decorating and gluing them in place.
In this step-by-step tutorial, you’ll learn everything you need to know to make custom paper nails from supplies you likely already have at home.
Choosing Your Paper
Paper Types
When making paper nails, the type of paper you choose is important. Here are some of the most common types of paper used:
- Cardstock – This heavy, thick paper makes very sturdy nails that hold their shape well. Great for accent nails.
- Origami paper – These colorful, patterned papers make fun and eye-catching paper nails. The folds add interesting texture.
- Scrapbooking paper – Scraps of patterned scrapbooking paper can be cut into cute shapes for paper nails.
- Tissue paper – Layering thin sheets of tissue paper makestranslucent nails with a jelly-like look.
- Newspaper – For a funky, retro vibe, recycled newspaper nails are a cool choice.
Heavier papers like cardstock are best for full nail looks, while lighter papers work well for nail art accents.
Paper Colors
Paper nails can be any color you can imagine! Here are some popular color options:
- Bright solids – Vibrant reds, greens, oranges, and other bold solids make a statement.
- Pastels – Soft pastel pinks, purples, blues are pretty and feminine.
- Neons – Electric neons like yellow, pink and green glow under blacklights.
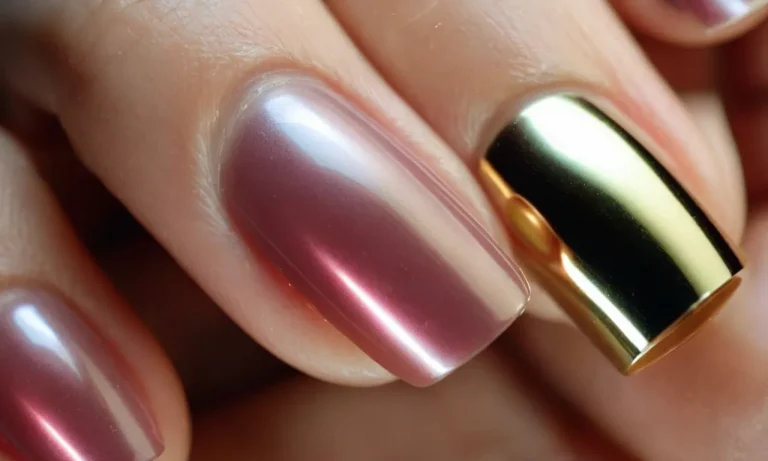
- Metallics – Shimmery gold, silver and copper metallic papers glitter.
- Nudes – Flesh-toned papers provide a neutral, polished look.
Matching your paper color to your outfit is a fun way to accessorize. Red and green are great for holiday parties!
Paper Patterns
In addition to colors, choosing a fun paper pattern can make your nails pop. Here are some popular options:
- Polka dots – Cute and retro-inspired dot patterns.
- Floral – Blooming roses, daisies and other flower prints.
- Animal print – On-trend leopard, zebra or snake skin patterns.
- Plaid – Punk rock buffalo plaid or gingham check prints.
- Marble – Elegant faux marble patterns swirl on the nails.
Mixing and matching patterns across nails can achieve a bold, mismatched manicure. Get creative with paper patterns!
Folding and Gluing the Paper Accordion-Style
Cut Paper into Strips
The first step in making paper nails is to cut strips of paper. For best results, use a paper that is thin yet sturdy, like origami paper or cardstock. Cut the paper into strips that are 1/2 inch to 1 inch wide. The length can vary, but a good starting point is to cut 8-12 inch strips.
Having strips of varying lengths will help give the finished nails more texture and interest. As you gain experience making paper nails, you can experiment with different paper types, colors, and strip widths to customize the look.
Fold the Paper Back and Forth
Once the strips are cut, it’s time to accordion fold them. Take one strip and fold it back and forth into a zig-zag shape. Make the folds approximately 1/4-1/2 inch wide. Fold the entire length of the strip, pressing down on each crease to make it crisp.
The accordion folding gives the paper strips strength and structure so they will hold their shape when formed into nails.
Pro tip: Run your fingernail or a bone folder along the folds for extra crispness! The sharper and more defined the creases are, the better the paper will hold its nail shape.
Glue the Folds in Place
The last step is to glue the accordion-folded paper strips to lock the folds in place permanently. You can use any paper glue for this, such as a glue stick, white school glue, or craft glue. Apply a thin layer of glue along one side of the folded strip, coating just the raised folds.
Then press the glued folds flat against the other side of the strip and hold for 30-60 seconds while the glue sets.
Once the glue has dried, the paper will hold its rigid, corrugated shape. At this point, you can curl and bend the strips to form nail shapes. Get creative with different nail head shapes, lengths, and styles!
Making paper nails is an easy DIY craft that produces beautiful results. The folded paper strips create bold textures and patterns that are ideal for scrapbooks, cards, decorative boxes, and more. Kids especially enjoy making paper nails as they can let their creativity run wild.
So grab some paper and start folding – you’ll be amazed at the unique paper crafts you can make with these faux metal nails!
Cutting Out Nail Shapes
Cut Triangular Shapes
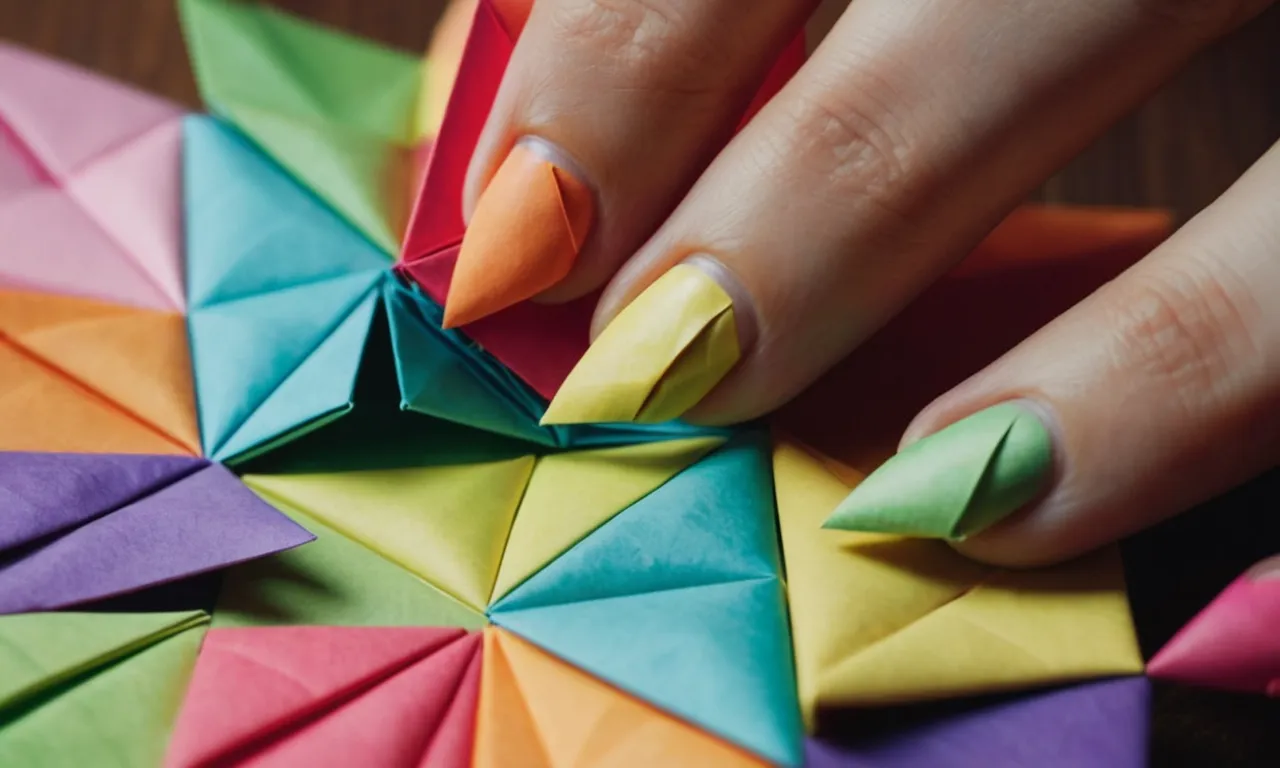
One fun nail shape to try is triangular or pointy nails. To achieve this look, cut your nail strips or paper into triangle shapes. Make sure to create a range of sizes – from small triangles for accent nails to larger triangles that will cover most of your nail bed for a bold statement.
When cutting the triangles, it’s best to use sharp scissors or nail clippers so you get clean edges. You’ll want to cut the triangle shape wider at the base near your cuticles and come to a point at the tip. For added durability, you can use clear nail polish or glue to seal the edges after cutting.
Create Rounded Shapes
Rounded nails are a cute and feminine option to try. To make rounded paper nails, simply cut your paper into oval or squoval shapes. Squoval nails have a slightly squared off shape versus a true oval.
Aim for a range of round sizes too. Larger rounded nails work great on your middle and index fingers. Smaller shapes are perfect for accent nails on your ring fingers and pinky nails. Use cuticle scissors or nail clippers for the cleanest cut possible.
Make Creative Shapes
You can get really creative with the nail shapes you cut out of paper! Some ideas include heart shapes, stars, squares, rectangles and even fun patterns like polka dots or chevron stripes.
Cutting intricate shapes will take more time and a steady hand. Sharp cuticle scissors, craft scissors or decorative-edged scissors will help. Draw the shape you want on paper first if needed. Then carefully cut along the outlines. Finish and smooth the edges with a nail file.
Mix and match shapes on different nails for a funky, eclectic look. Accent nails with smaller shapes and patterns pop against solid color nails.
Decorating the Nails
Decorating paper nails can be a fun and creative way to add some flair to your papercraft projects. Here are some tips for decorating paper nails:
Use paint, markers, or crayons
One of the easiest ways to decorate paper nails is by using paint, markers, or crayons. You can paint the entire nail a solid color or get creative with patterns, designs, and textures. Watercolor paints work great for a washed-out, ombre look.
Bold markers or crayons allow you to add polka dots, stripes, flowers, or other designs. Let your imagination run wild!
Add embellishments
Glitter, rhinestones, sequins, and other embellishments are great for dressing up paper nails. You can glue them on individually or mix together for a sparkly, textured look. Tiny gemstones, metallic studs, and glitter create a fancy, bejeweled effect.
Cut up pieces of foil, tissue paper, or stickers fit nicely on nail tips. Get creative with different colors, sizes, and combinations of embellishments.
Use decoupage
Decoupage involves gluing cutouts of paper, fabric, or other materials onto a surface. For paper nails, try decoupaging bits of colorful paper, photos, magazine clippings, or tissue paper. This collage look allows you to cover the entire nail with your favorite images and patterns overlapping each other.
You can also decoupage 3D objects like beads, buttons, or charms for added dimension.
Incorporate nature
Natural materials like dried flowers, leaves, twigs, and seeds can add organic texture and color to paper nails. Press tiny flowers into wet paint or glue for an embedded look. Arrange seeds, coffee beans, or spices in patterns. Delicately glue leaves or fern fronds on tips.
Adding bits of nature creates an earthy, bohemian vibe.
Try nail wraps
Adhesive nail wraps make it easy to decorate paper nails. These thin, printed, stick-on papers come in a huge variety of patterns, textures, and designs. Simply peel and stick them onto the nails for an instant makeover. Nail wraps allow you to achieve intricate designs without artistic skill.
They’re also removable and reusable, making them great for temporary decoration.
The options are endless when it comes to decorating paper nails! Layer different materials and textures for a unique, custom look. Let the nail shapes and sizes influence your designs. Don’t be afraid to experiment until you achieve the creative style you love.
Attaching the Paper Nails
Once you have finished shaping and decorating your paper nails, it’s time to attach them. There are a few safe, easy ways to do this without damaging your natural nails. Many people use small dabs of non-toxic glue or double-sided tape.
For a temporary option, you can also purchase packs of tiny paper nail stickers. These sticky tabs grip to the edge of your natural nail to hold each paper nail in place. When applying the paper nails, be sure not to cover your whole nail bed for proper airflow and nail health.
Conclusion
With just scrap paper, glue, scissors, and a bit of creativity, you can easily make fun paper nails for all kinds of DIY projects. The accordion folding technique ensures the nails have some dimension and sculptural interest.
Plus, decorating and shaping the nails in different ways allows for lots of creative possibilities.
So next time you need an eye-catching embellishment, try your hand at these handmade paper nails. They add custom flair for very little cost or effort!