How To Use A Polygel Nail Kit For Salon Quality Nails At Home
If you love getting your nails done at the salon but hate the cost and time it takes, using a polygel nail kit at home is a great option. With some practice, you can give yourself a beautiful, long-lasting manicure without leaving your house.
If you’re short on time, here’s a quick answer to your question: To use a polygel nail kit, prep your nails, apply polygel to the nail form or your nail, cure it under an LED or UV lamp, file and shape your nail, then finish with a top coat for shine and protection.
In this comprehensive guide, we’ll walk through all the steps and tips you need to use polygel like a pro for stunning at-home manicures that look like they came straight from the nail salon.
Choose and Gather Your Polygel Supplies
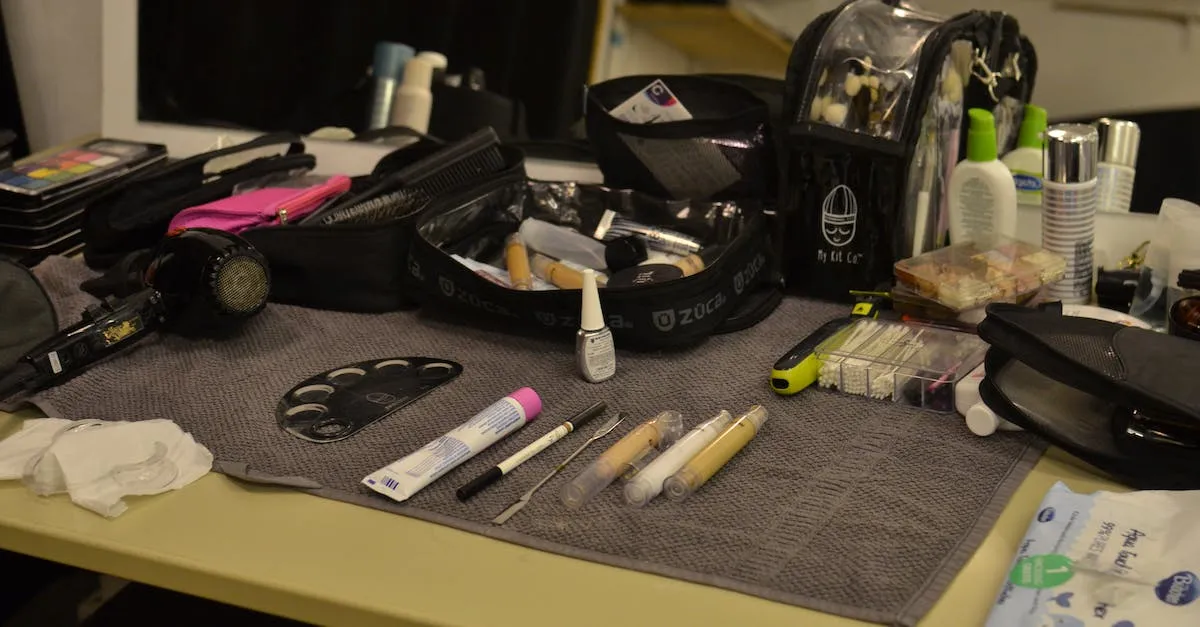
Doing your own polygel nails at home can be easy and fun with the right supplies. Here’s a list of the basic items you’ll need:
Polygel kit
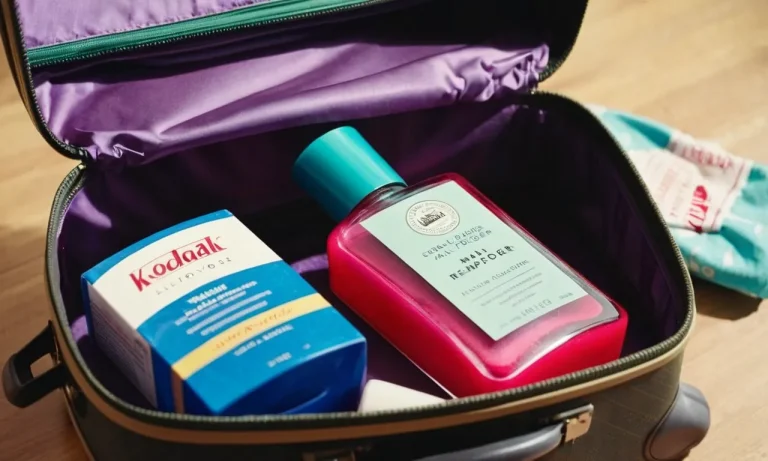
A polygel starter kit contains tubes of polygel in various colors and sizes, a UV or LED lamp, nail forms, a brush, and other tools. Get one with multiple natural nude colors so you can customize your manicure.
Top brands like Makartt, Modelones, or Beetles sell great beginner polygel kits on Amazon for under $50.
LED or UV lamp
You’ll need a UV/LED lamp to cure the polygel on your nails. An LED lamp is preferred because it cures gel polish faster and typically lasts longer than UV lamps before needing to be replaced. Choose one that’s at least 36 watts for proper curing.
Popular options are SunUV’s 54W lamp and MelodySusie’s 50W LED lamp.
100% acetone nail polish remover
To remove your polygel manicure, you’ll need 100% pure acetone, which breaks down the polygel. Pick up a bottle from beauty brands like Zoya or Ella+Mila, available at Ulta or Sally Beauty. You’ll also need cotton balls and foil.
Nail clippers and file
Clippers and a nail file prep your natural nails before polygel application. Look for a 100/180 grit file for shaping. Glass or metal clippers last longer than plastic ones. Get them from Tweezerman or Sally Hansen.
Cuticle pusher
A cuticle pusher gently pushes back your cuticles before starting your manicure, making your nails look neat and clean. Buy a metal dual-sided one for easy maneuvering around the nails.
Nail dehydrator
A nail dehydrator removes oils from your nails so the polygel adheres properly. Apply it before the polygel primer. Popular options are from CND or Young Nails.
Primer
A primer creates a tacky layer that helps the polygel stick to your natural nails. Use the primer that comes with your polygel kit.
Top coat
Finish off your DIY gel manicure by applying a shiny top coat to seal and protect the color. Seche Vite and Essie Gel Couture make excellent quick-drying top coats.
With these simple supplies, you can achieve beautiful, long-lasting polygel nails in the comfort of your own home.
Prep Your Natural Nails
Trim and shape nails
Trimming and shaping your natural nails is the vital first step before using a polygel kit. Use nail clippers to trim your nails straight across to remove any ragged or broken edges. File the edges smooth with a nail file, curving the tips of the nails into a gentle slope – this helps prevent cracks and breaks.
Check to ensure all nails are a uniform length and shape for the polygel application. Beautiful, smooth nails will be a breeze with some TLC prior to your at-home manicure!
Push back cuticles
Before beginning polygel application, it’s crucial to push back and clean up your cuticles. Start by dipping a cuticle pusher into cuticle remover cream and gently pressing back the skin surrounding each nail plate.
Never cut or nip living skin as this can lead to infection – simply push it back carefully. Use a cuticle trimmer to snip off any excess dead skin so it doesn’t interfere with the polygel adhesion later on. Your nails will look incredibly neat and tidy with some cuticle TLC!
Buff surface of nails
Lightly buffing the surface of your natural nails helps the polygel stick properly during application. Use a fine grit 100/180 nail file and gently buff in a back and forth motion along each nail bed. Don’t over do it – you only need to remove the surface shine for better product grip.
Take your time and focus on consistency across every nail for an even, durable end result. According to nail care experts, proper dehydration and light buffing makes all the difference for long-lasting enhancement nails done at home!
Dehydrate nails
After shaping and light buffing, it’s important to dehydrate the natural nails prior to product application. This removes any oils from the nail plate and allows maximum grip for polygel. Apply a pH-balanced nail prep solution evenly across the nail surface and surrounding skin using a lint free wipe.
Allow 30 seconds to fully dry. Your nails need to look matte with no oil or moisture for optimal polygel results. Some polygel kits come with a dehydrator, otherwise pick one up at your local beauty supply store.
Apply primer coat
The final vital step is to use a nail primer before polygel application. This thins, evens out and enhances adhesion across the natural nail. Dip a brush into primer fluid and apply a thin but fully opaque layer onto each clean nail plate. Allow to dry completely – this usually takes 60-90 seconds.
Applying a quality primer is the extra insurance you need for maximum wear over 2-3 weeks. No lifting with a great prep job!
Apply Polygel to Nails
Apply slip solution to nail form or natural nail
Start by brushing a thin layer of slip solution onto your natural nail or nail form using the bottle’s brush applicator. The slip solution acts as a barrier between your natural nail and the polygel product, allowing for easy removal later on.
It also helps the polygel glide smoothly over the nail surface.
Scoop polygel from jar and spread evenly on form or nail
Use the end of your polygel applicator brush to scoop a small bead of polygel from the jar, then spread it evenly over the nail form or your prepped natural nail. Apply enough polygel to fully cover the nail from cuticle to tip.
The polygel should be an even thickness to prevent cracking or damage later on.
Use polygel brush to pat product into shape
Once the polygel is applied, use the bristles of your brush to gently pat and shape it into your desired nail length and shape. Avoid heavy brush strokes, as this can create air pockets in the polygel. Lightly pat it into place instead.
To avoid irritation, be careful not to touch skin around the nails with uncured polygel.
Cure polygel under LED or UV lamp as directed
When your nail is shaped properly, slide your finger under the LED or UV nail lamp according to your kit’s instructions. Cure times vary between 30 seconds to 2 minutes. Full curing is extremely important so the polygel hardens fully. Under-cured polygel will stay sticky and soft.
File and shape nail to desired length and shape
Once cured, use a 180 to 240 grit nail file to shape and smooth the nail’s tip and edges. File gently in one direction to prevent cracking in the polygel. Finish with a fine grit buffer block and buffing cream to leave your DIY polygel nail with a beautiful, salon-perfect shine!
Finish and Maintain Your Polygel Manicure
Use buffing block to smooth nail surface
After removing excess polygel and shaping your nails, use a buffing block or buffer to gently smooth the nail surface. Buffing helps remove small scratches and gives an ultra-shiny finish. Use a buffer with multiple grit levels, starting from coarse and progressing down to fine grit for the smoothest results.
Take care to buffer lightly and avoid overheating the nails. Beautifully shaped and buffed nails are the hallmark of a great polygel manicure.
Apply top coat for shine and chip resistance
A quality polygel top coat is crucial for an enduring manicure. Top coats formulated for enhancements help seal in color, prevent chipping and peeling, protect nail art from smudging, and provide mesmerizing shine. Apply a thin, even layer to wrap tips and seal the free edge.
Let the top coat cure under an LED or UV lamp following manufacturer’s instructions. Reapply every 2-3 days as needed.
Reapply top coat every 2-3 days
As the top coat wears off with normal activity, reapply a fresh layer every 2-3 days for extended wear. Check for signs of wear like dulling, smudges, or chips and top up your shine. Having a quality top coat on hand makes quick touch-ups easy so your manicure always looks fab.
Use cuticle oil daily to hydrate skin
Polygel application can cause cuticles to become dry and cracked. Nourish cuticles and nail bed skin daily by massaging in cuticle oil. Look for therapeutic oils like vitamin E, jojoba, olive, avocado etc.
Increased hydration keeps cuticles soft, healthy and less likely to peel or hang off artificially lengthened nails.
Soak off polygel after 2-3 weeks and reapply
For long lasting wear, polygel enhancements last approximately 2-3 weeks on natural nails. After this time, soak off the old product and reapply fresh polygel for a revamped manicure. Use a pure acetone remover to dissolve the polygel polish and lift it from the natural nail surface.
Once removed, file, buff and cleanse nails in preparation for a sparkly new set!
Conclusion
With the right polygel kit and some practice, you can achieve stunning salon-quality nails from the comfort of your home. Prep your nails properly, apply polygel smoothly and evenly, cure it completely under a lamp, shape and file for your desired look, then finish it off with a protective topcoat.
Using polygel is an affordable, long-lasting alternative to getting acrylics or other salon manicures. Follow these tips and techniques for professional results. Your beautiful polygel manicure will have everyone asking where you got it done!