What Is A Nail Pop? A Complete Guide
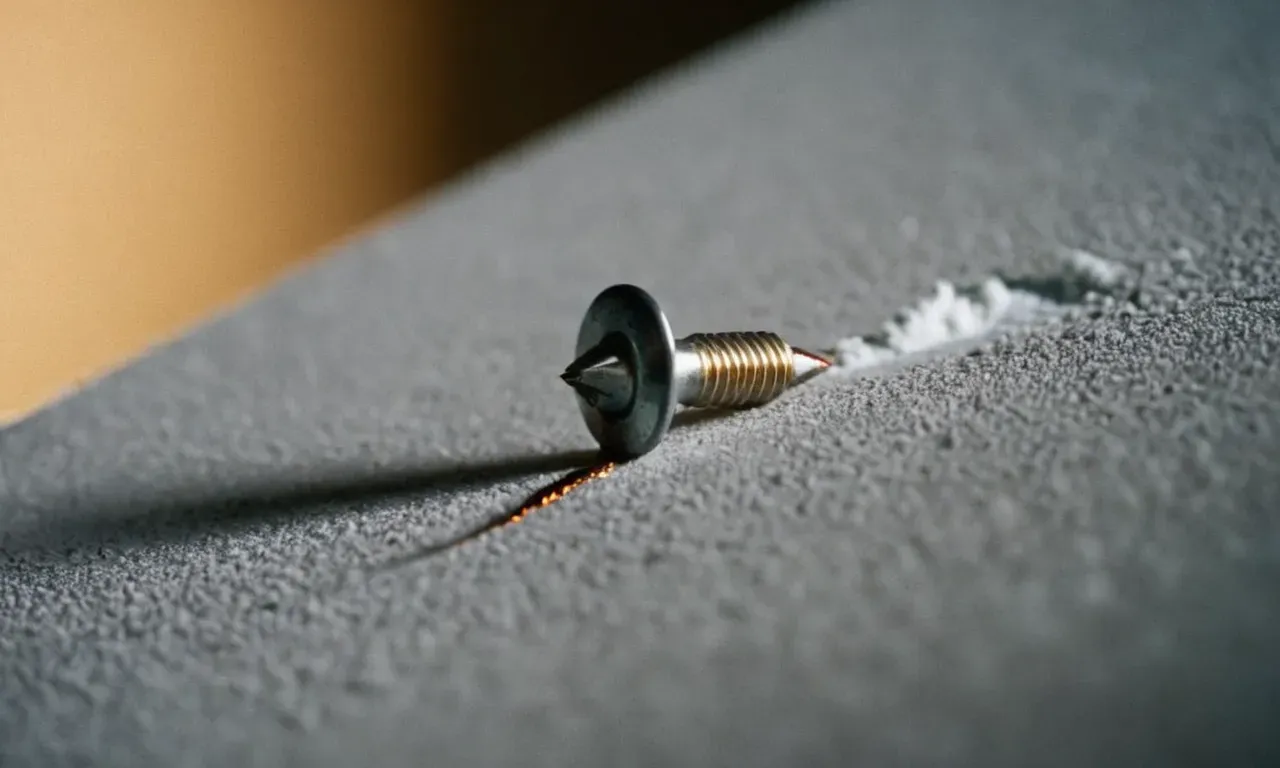
Nail pops are a common issue that homeowners deal with, especially in older homes. If you’ve noticed small bumps or raised areas on your walls or ceilings, you’re probably dealing with nail pops. Here’s a quick answer: A nail pop happens when a nail that is holding drywall or plaster starts to pull loose and pushes against the surface material, causing a bump or bubble to appear.
In this comprehensive guide, we’ll cover everything you need to know about nail pops – what causes them, how to fix them, and tips for preventing them in the future.
What Causes Nail Pops?
Using incorrect nails
One of the most common causes of nail pops is using the wrong type or size of nails during construction or renovation. Nails that are too small can gradually work themselves loose over time as the wood naturally expands and contracts.
This allows the drywall or plaster to pop off the nail head, creating an unsightly bump. Using the recommended type and size of nails for the job is crucial to preventing this issue down the road.
Natural contraction and expansion of materials
Wood framing, drywall, and plaster are hygroscopic materials, meaning they absorb and release moisture. As temperature and humidity levels change throughout the year, these materials naturally expand and contract ever so slightly.
Over time, this cyclic movement can cause fasteners like nails and screws to loosen and no longer hold the drywall tightly to the framing. When the drywall loses contact with the framing, nail pops tend to appear.
This problem is exacerbated in climates with greater seasonal temperature/humidity swings.
Settling of the house
All homes undergo minor settling and shifting over time, which can lead to nail pops surfacing. As a house settles, weight bears down on the framing in ways it wasn’t originally intended to handle. This added stress causes the wood to bend or twist subtly, which in turn knocks drywall compound or plaster away from the nails that attach them to the framing.
Older homes tend to experience more significant settling, but it can happen in newer construction as well.
Other less common culprits of nail pops include poor drywall installation, framing issues, loose or deteriorating insulation, and minor foundation movement. Sometimes a combination of factors contributes to their formation.
But in most cases, natural expansion/contraction of materials and settling are the primary mechanisms at play. Being aware of what causes this annoying and unsightly problem is the first step toward prevention and repair.
How to Fix Nail Pops
Tools needed
Fixing nail pops requires some basic tools like a putty knife, sandpaper, spackle or drywall joint compound, a small piece of scrap wood, painter’s tape, a hammer, a flashlight, and sanding sponge or block.
You may also need a pry bar if the nail is sticking out far and needs to be driven back in first. Having all the right tools before starting will make the repair job much easier.
Step-by-step repair process
The process for fixing nail pops involves:
- Inspecting the protruding nail and tapping it back into place if necessary
- Scraping and cleaning out any loose debris or old spackle around the popped nail
- Applying 1-2 coats of spackle or drywall joint compound over the nail, allowing it to dry fully between coats
- Sanding the area smooth once dry
- Wiping away dust and applying painter’s tape around the repaired section
- Priming and repainting 2-3 thin finish coats with a small brush
Taking your time with each step leads to the best results. Rushing through can lead to cracks or uneven paint coverage later on.
Applying joint compound
When applying spackle or drywall joint compound, only do small sections at a time. Use a putty knife to press the compound firmly into the hole and build it slightly above the surface level. Let it dry completely between 1-2 thin coats according to the manufacturer instructions.
Quick-dry spackles may only need 30-60 minutes between applications. The key is getting a perfectly smooth, flush finish before sanding and painting.
Sanding and repainting
Use medium (120-150 grit) sandpaper and a sanding sponge or block to blend the edges of the patchwork seamlessly into the wall surface. Careful sanding avoids scuffing up too much of the surrounding paint. After sanding, wipe off all dust before priming.
When repainting, use a small trim brush and apply thin coats of paint similar to the existing sheen and color. Paint just the affected section plus a little beyond it, feathering the fresh paint into the old. With careful prep and painting, your nail pops will disappear!
Tips for Preventing Nail Pops
Use ring-shank nails
One of the best ways to prevent those pesky nail pops is to use ring-shank nails instead of smooth nails when installing drywall. Ring-shank nails have ridges that grip the wood better, making them less likely to back out over time.
The ridges on the nails resist pulling through the wood when the lumber shrinks and expands. Smooth nails can more easily get pulled through the wood during these natural movements, leading to the drywall popping.
So take the extra couple minutes to use ring-shank nails and save yourself some headaches down the road!
Allow lumber to acclimate before installation
Another tip to avoid nail pops is to let any lumber acclimate to your home’s environment before installing drywall. Wood naturally expands and contracts with changes in temperature and humidity. If you install drywall right after the lumber is delivered, but before it adjusts to your home’s conditions, it is almost guaranteed that you’ll see some nail pops over time.
Give the wood at least a few days to acclimate first. This will minimize later expansion or contraction that can pop those nails through the drywall. A little patience up front will prevent hassles later!
Ensure adequate number of nails
Skimping on nails might save a few minutes during installation, but it is a surefire way to end up with nail pops later. Always use the recommended amount of nails for securing drywall to studs and joists. Typically that is nails every 8-12 inches for walls and every 6-8 inches for ceilings.
More nails means the drywall is held more securely in place. This prevents it from shifting and pulling on the nails as the wood moves. Following the recommended nailing schedule might take a bit more time, but it’s a small price to pay for smooth walls free of pops down the road.
Fill nail holes with spackle
Make sure to fill all nail holes with spackle after driving the nails in. Leaving holes unfilled allows room for movement that can lead to nail pops. Filling the holes with lightweight spackle locks the nails in place and prevents that movement. Allow the spackle to fully dry before sanding smooth.
This locks the nails firmly in position. For even better results, use spackling paste with acrylic fortifiers. The acrylic makes it more flexible when dry, allowing it to flex slightly without cracking if any lumber movement occurs.
Taking the time for proper spackling now prevents having to continually spackle popped nails later. Just a little extra effort up front saves a ton of hassle down the road.
When to Call a Professional
Extensive damage
If you have multiple nail pops happening throughout your home, it’s best to call in a professional to assess the underlying cause. They can determine if it is a symptom of a larger structural issue that needs addressing.
Attempting DIY repairs for dozens of nail pops could end up being frustrating and costly if they continue recurring. Professionals have the skills, tools, and experience to correctly diagnosis and remedy extensive nail pop damage.
High or difficult to reach areas
Nail pops happening high up on cathedral ceilings or in tricky tight spaces can be extremely difficult and unsafe to try repairing on your own. Professionals have the right equipment like scaffolding and lifts to safely access problem areas.
They also know how to properly repair nail pops in challenging locations without further damage occurring. Attempting dangerous do-it-yourself repairs could result in falls, injury, or making the issues worse.
Underlying structural issues
If the nail popping is accompanied by other red flags like cracks in walls and ceilings, sticking doors or windows, or sloping floors, a structural problem is likely the root cause. Only qualified contractors have the expertise to accurately diagnose and remedy structural deficiencies like shifting foundations or failing load-bearing elements.
Covering up symptoms with cosmetic repairs without addressing core issues will only lead to continued and worsening damage over time. The longer major structural weaknesses go unattended, the more costly repairs become.
Conclusion
Nail pops are a nuisance but fairly simple for a homeowner to repair on their own. With some basic tools and materials, you can easily fix popped nails and prevent them from coming back. Just be sure to address them promptly before the damage leads to bigger problems.
If the issue is widespread or you’re uncomfortable making the repairs, don’t hesitate to call a drywall pro for assistance.

