How To Tell If Gel Nails Are Cured
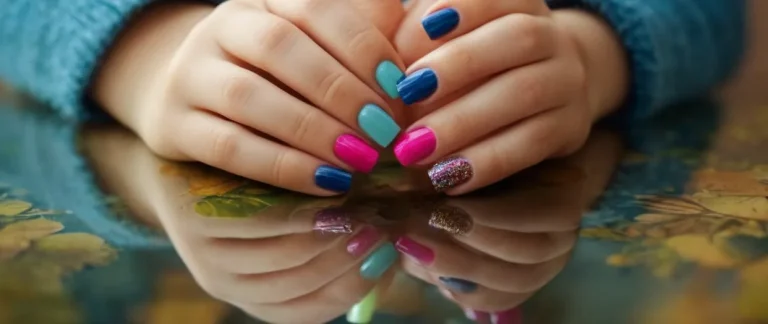
Beautifully manicured nails can make any woman feel put together. But when it comes to gel manicures, how can you tell if the gel is properly cured? Dry looking nails are deceiving. Follow these tips to ensure your gel mani lasts as long as it should.
If you’re short on time, here’s a quick answer to your question: Check that the gel is smooth and not tacky, tap the nail and it shouldn’t dent, and use the slide test by gently sliding a finger across the nail.
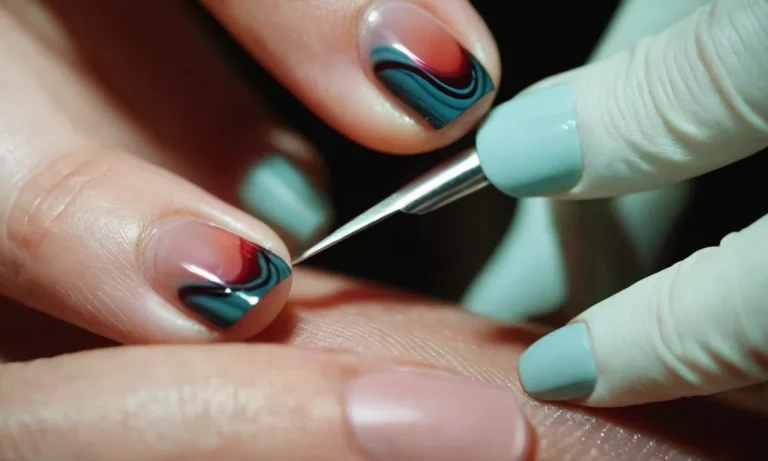
Look for a Smooth Surface
When gel nails are properly cured, the surface should be smooth, shiny, and free of any tackiness. Here are some tips for checking if your gel manicure is fully cured:
1. Touch the surface
After your gel polish has gone through the LED or UV light, gently touch the nails. The surface should be completely smooth, with no indentations or tacky areas. If the gel still feels sticky or gummy, it needs more time under the light to fully harden.
2. Check for shine
Properly cured gel has a beautiful, high-gloss shine to it. If your nails look dull or matte after curing, that’s a red flag that the gel didn’t fully polymerize. Insufficient curing can lead to chipping and peeling.
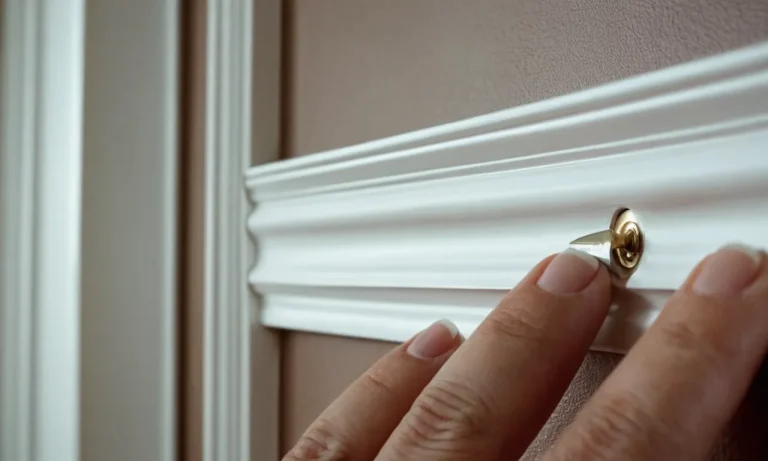
3. Do a finger slide test
Slide your index finger over your nail bed from cuticle to tip. It should feel smooth all the way across. Any dragging or resistance means the gel layer hasn’t fully set.
4. Look for an even surface
Examine the nails closely under good lighting. There should be no lumps, bumps, or uneven patches on the surface. The gel should have an uniform smoothness from base to tip.
5. Check sidewalls and cuticle area
Pay special attention to the nail sidewalls and cuticle area. These areas often get less exposure to the LED/UV light. Any tackiness or gummy residue in these areas indicates a problem with curing.
6. Try a smudge test
Gently brush a finger over your nail. If any of the gel polish smudges or comes off onto your finger, it’s not fully cured. Properly set gel is extremely hard and won’t budge.
7. Look for shrinkage
Insufficient curing can cause the gel polish to shrink back slightly from the free edge or sidewalls of the nail. Check that the gel layer still extends all the way to the edge without gaps.
8. Check thickness
Properly cured gel should be thin, smooth, and even across the nail. Thick, uneven areas can indicate under-curing. The product may have run or pooled due to inadequate hardening.
Give your nail tech feedback if you suspect your gel manicure is under-cured. With vigilance and proper curing techniques, you can get a beautiful, long-lasting gel mani.
Do the Tap Test
One way to check if your gel nails are properly cured is to do the tap test. Here’s how it works:
Materials Needed
- Your nail with the gel polish applied
- A metal tool like a cuticle pusher or nail file
Steps
- Wait the full curing time recommended by the gel polish brand after applying the color coat(s). This is usually 2-3 minutes under an LED or UV nail lamp.
- Take the metal tool and gently tap near the cuticle area of the nail.
- If the gel layer feels hard and there is no dent left behind, the polish is fully cured. You can proceed with applying top coat or other gel layers if needed.
- If the tap leaves an indentation or the gel still feels sticky or soft, it needs more curing time. Put it back under the nail lamp for another 30-60 seconds.
- After the additional curing time, do the tap test again. The nail should now feel hard without any dents.
The tap test is an easy way to ensure your gel manicure is fully set before finishing the nails. It prevents problems like smudging or layers not bonding properly. Pay attention to the results so you don’t end up with a messy manicure!
Try the Slide Test
One easy way to test if your gel nail polish is fully cured is to do the slide test. Here’s how it works:
- After applying the gel polish and putting your hand under the LED or UV nail lamp for the recommended time, take your nail and gently slide it across the surface of the lamp. Don’t press too hard, just lightly glide your nail along the surface.
- If your nail polish feels slightly sticky or tacky and wants to drag across the surface a bit, it means it is not fully cured yet. The polymers have not fully hardened and cross-linked.
- If your nail glides smoothly across the surface without any dragging or pulling, that means it is fully cured! The polymers have fully hardened and your manicure should feel smooth and not sticky.
The slide test takes out the guess work. No more wondering if you cured it long enough or not. Just swipe your nail across a surface and if it drags, put it back in the lamp for another 30 seconds to a minute. Check again with the slide test until it passes.
Some tips for getting a fully cured gel manicure:
- Use a high quality LED or UV lamp designed specifically for curing gel polish. Low quality lamps may not emit the proper wavelength or intensity of light.
- Replace the bulbs in your lamp regularly as they can wear out over time.
- Always cure for the full time recommended by the brand of gel polish you are using. Undercured polish risks chipping and peeling.
- Use thin coats of polish so the light can properly penetrate all layers.
- Cap the free edge of your nail with each layer to ensure even curing.
- Invest in a lamp with a built-in timer so you never have to guess when your nails are done curing.
By routinely checking with the handy slide test, you can have salon-perfect gel manicure results at home every time. No more sticky, tacky polish or worries about it not lasting. Just smooth, chip-free nails for up to 3 weeks!
Watch for Other Signs of Undercured Gel
In addition to the tacky surface, there are other signs that can indicate your gel manicure is not fully cured. Being aware of these signs can help you identify problems early and take steps to fix them.
Residue on Skin or Cuticles
One indication that your gels did not cure properly is if there is a sticky residue left on your skin or cuticles after removing the nail wraps. Properly cured gels should come off clean without leaving behind traces of product.
If you notice any glue-like residue, it likely means the gels did not set completely under the UV or LED lamp.
Chipping or Peeling
Gels that are fully cured should be quite hard and durable on the nails. If your manicure starts to chip or peel off in sheets only a day or two after application, it points to an undercured gel polish. Properly set gels can last a week or longer without chipping or peeling when applied correctly.
Flexibility or Bending
Gels need to fully harden and attach to the natural nail for best durability. If you can still slightly flex or bend the nails even a day after your gel manicure, it likely indicates the product did not get adequately cured. The gels should feel quite stiff and solid once set, rather than flexible.
Dents or Imprints in Polish
When gels are completely hardened and cured, they form a tough protective layer over the natural nails. If you can press into the gel polish and leave visible fingerprints or dents a day or more after application, it shows the product did not properly set.
Properly cured gels should spring back without leaving marks.
Compare Curing Times
If one or more of your nails feels soft or tacky compared to the others after removing from the LED or UV lamp, take note. This can indicate that particular nail did not get fully cured. Compare curing times for each hand, and watch for any individual nails that need significantly longer to set.
Notice Problems Sooner Next Time
In addition to watching for these signs of undercured gel, you can also try to notice problems sooner during the application process. Pay attention to any gels that seem to take longer to get firm or dry under the lamp.
Make note which nails take longer to cure so you can extend times for those fingers next appointment.
Being proactive and catching undercured gel early allows for an easy fix. Simply put the tacky nail back under UV/LED light for another minute or two. Watching for signs of undercured gels means you can fix them before major chipping, peeling and damage occurs.
Address tacky layers right away for the most durable and long-lasting manicured nails.
What to Do if Your Gel Isn’t Cured
We’ve all been there – you’ve just had a fresh set of gel nails applied and can’t wait to show them off. But when you go to leave the salon, you notice that your nails still feel soft or tacky. Uh oh! This likely means that your gel polish did not fully cure under the LED or UV lamp.
Don’t panic – here’s what you need to do if your gel manicure isn’t properly set:
Tell Your Nail Tech Immediately
As soon as you notice that your gel nails don’t feel fully hardened, let your nail technician know. They should be able to diagnose the issue and fix it right then and there. Common reasons for uncured gel include not leaving the polish under the lamp long enough, the lamp’s bulbs needing to be replaced, or applying too thick of a layer of gel.
Your tech should be able to determine the problem and give your nails another zap under the UV/LED lamp.
Avoid Touching or Bumping Your Nails
It’s important not to touch, knock, or put pressure on your gel nails until they are fully set. Any type of friction or impact can disturb the uncured gel and cause it to become even more tacky. Be extra careful and try to keep your hands out of your pockets, away from surfaces, and don’t fidget with your fingers.
The last thing you want is a mangled mess of sticky gel!
Don’t Get Your Nails Wet
Moisture is bad news for gel polish that hasn’t fully cured. Avoid washing your hands or doing any tasks that involve water until your nails have completely hardened. Exposure to water can cause the polish to becomeeven more pliable and tacky.
Definitely skip the dishes until you get your nails properly set!
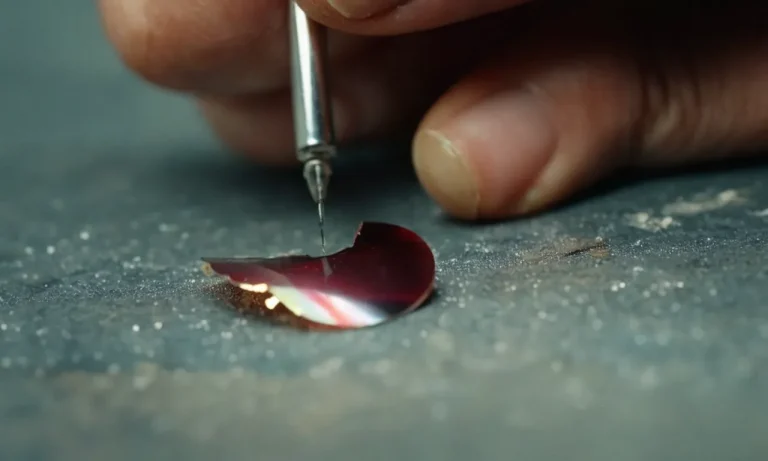
Ask for a Gel Polish Removal
If your nail tech is unable to get your gel manicure to properly cure, you may need to soak off the tacky polish and start over. Unlike regular nail polish, uncured gel cannot just be scraped or peeled off – it needs to be dissolved with acetone.
Your technician should give your nails a good 15-20 minute soak in acetone before gently scraping away the product. Once removed, they can reapply fresh layers of gel polish and cure it fully under the lamp.
Try a Different Lamp
On the off chance that multiple curing attempts don’t work, ask your nail tech if you can try a different lamp. Older lamps may not emit UV rays as strongly, while overused bulbs can become less effective over time.
Trying a different lamp provides a fresh UV/LED light source that may cure the gel better. Just a few minutes under new bulbs will typically do the trick.
Let Your Nails Breathe
If all else fails, you may just need to remove your gel completely and give your nails a break. Constant UV and LED light exposure can gradually weaken natural nails over time. Letting them breathe for a few weeks allows moisture and nutrients to penetrate the nail plate again.
A little nail repair time works wonders! When you’re ready for gel again, choose lighter nude shades – darker colors often require more time under the lamp to fully cure.
With the right technique, gel manicures should come out perfect every time. But mistakes happen occasionally, even with experienced nail techs. Just stay calm, avoid too much hand activity, and work quickly with your technician to correct tacky gel.
With a little extra lamp time and TLC, you’ll have stellar nails ready for showcasing in no time!
Conclusion
Getting a gel manicure can be a time-saving beauty routine when done properly. But rushed techs can leave clients with undercured gels that won’t get your money’s worth. Now that you know what to look for, you can ensure your mani lasts as long as it should.
Check for tackiness, tapping for dents, and slide a finger across to check smoothness. These tricks will have you strutting out the salon door with a perfect gel manicure every time.