How To Remove Pink And White Gel Nails At Home
Pink and white gel nails can look beautiful, but removing them without damaging your natural nails can be tricky. If you’re looking for a safe, effective DIY gel removal method, you’ve come to the right place.
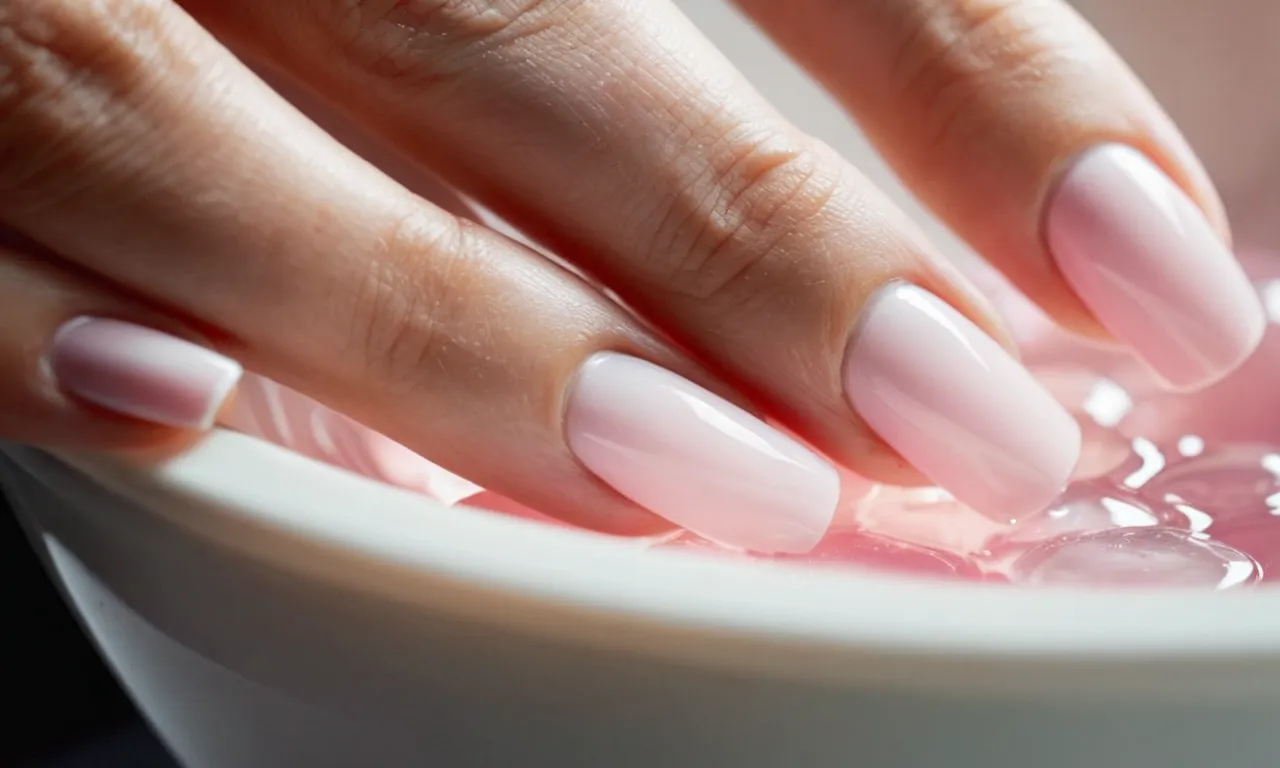
If you’re short on time, here’s a quick answer to your question: Soak cotton pads in pure acetone and place them on each nail, wrapping in foil. After 10-15 minutes, the gel polish should peel off easily with an orange wood stick.
Understanding Gel Nail Removal
Why DIY removal is better than scraping or peeling
Removing gel nails at home is often better than scraping or peeling them off, which can seriously damage your natural nails. DIY gel removal allows you to work slowly and gently to break down the layers of product on each nail without ripping off layers of your actual nail in the process.
This prevents weakening your nails and causing splits, cracks, and peeling. Taking your time with a remover also helps avoid leaving any residual gel or glue on your nails that could allow fungus or bacteria to grow underneath the free edge.
Choosing the right gel nail remover
Picking the appropriate remover is key for easy, safe DIY gel removal. Acetone-based removers work best to fully dissolve the layers of gel polish and break the seal of the glue adhering artificial tips. 100% acetone formulas are ideal.
Avoid removers with added oils, which can leave an oily residue on nails that prevents the acetone from working effectively. Also steer clear of lower concentrate acetone removers which require more soaking time.
The optimal choice is a thick, viscosity formula that clings to nails and accelerates the removal process.
Tips for avoiding damage to natural nails
You can take a few precautions to avoid or minimize damage when removing gels at home:
- Never pick, peel, or pry off gel polish. This can remove layers of your actual nail.
- File off the shiny top layer of gel before soaking to allow deeper acetone penetration.
- Wrap each finger with aluminum foil after applying remover to trap heat and moisture.
- Soak for 10-20 minutes per layer of gel applied. Don’t rush the process.
- After soaking, gently roll off product with an orange stick, don’t scrape.
- Buff away any remaining residue instead of scraping nails.
- Apply cuticle oil after to hydrate and nourish nails.
Patience and the proper remover and technique can let you successfully remove gels minus the damage. Taking your time helps ensure a clean break between the gel and your natural nail plate, avoiding lifting of layers or splitting.
Remember to care for nails properly afterwards too, and you’ll have happy, healthy nails gel-free!
Step-by-Step Guide to DIY Gel Removal
Items you’ll need
To safely remove gel nails at home, you’ll need a few key items: acetone nail polish remover, aluminum foil, cotton balls or pads, a nail file, cuticle oil, and a wooden stick or orange stick. Ensure you have 100% pure acetone, not diluted acetone or nail polish remover, as this works best for breaking down the gel polish.
Prepping your nails
Before applying acetone, prep your nails by gently filing the top layer of your gel manicure to rough up the surface. This allows the acetone to penetrate the gel polish more effectively. Push back and trim any overgrown cuticles with a wooden stick.
This prevents excess skin from becoming dried out by the acetone.
Applying remover and waiting
Next, soak cotton pads or balls with acetone remover and place them on top of each fingernail. Wrap each finger with a small piece of aluminum foil, ensuring the acetone-soaked cotton remains in place. Leave the foil wraps on for 15-20 minutes.
This gives the acetone enough time to break down the nail gel.
Gently pushing back the gel polish
After waiting, check if the gel polish feels soft or looks warped/wrinkly. If so, it’s ready to be removed! Gently push back the loosened gel from the nail plate using an orangewood stick, being careful not to damage your natural nails. The gel should come off in full or partial sheets.
Remove all residue before moving on.
Buffing away any remaining residue
If any gel residue remains on your nails, gently buff it away using a fine-grain nail file. Avoid excessively filing or you may thin out your natural nails. Buff just until the nail plate feels smooth when running your finger across it.
Apply cuticle oil for hydration
Lastly, apply cuticle oil around each fingernail and cuticle area to replenish moisture and improve appearance. Look for cuticle oils containing vitamins and essential oils like vitamin E, aloe vera, jojoba oil or coconut oil. Massage the oil into your nails and cuticles until fully absorbed.
Maintaining Your Nails Post-Removal
Moisturizing and filing away damage
After removing gel or acrylic nails, it’s important to moisturize and gently file away any damage to your natural nails. Here are some tips:
Being diligent about moisturizing and filing will help strengthen nails and prevent peeling or breakage after gel manicure removal. Take it slow and don’t aggressively file away lifts or damage.
Avoiding excessive water exposure
Frequent exposure to water can dry out and weaken nails after removing gel manicures. Here are some tips to limit water damage:
Limiting water exposure and keeping nails coated in moisturizer will help prevent brittle peeling and cracking post-removal. Be diligent about gloving hands for wet chores.
Using strengthening treatments and oils
Here are some tips for using strengtheners and oils to nourish nails after removing gel manicures:
Be patient and consistent with nail strengthening routines. It can take 4-6 weeks for damaged nails to fully heal after removing gels. Avoid overlays or extensions during the recovery period.
Conclusion
Removing gel manicures at home can save you time and money. With the right remover and technique, you can get rid of stubborn gel polish without wrecking your nails. Be patient during the soaking process, never scrape or peel gels off, and take steps afterwards to replenish moisture and strength.
Your nails will thank you!


