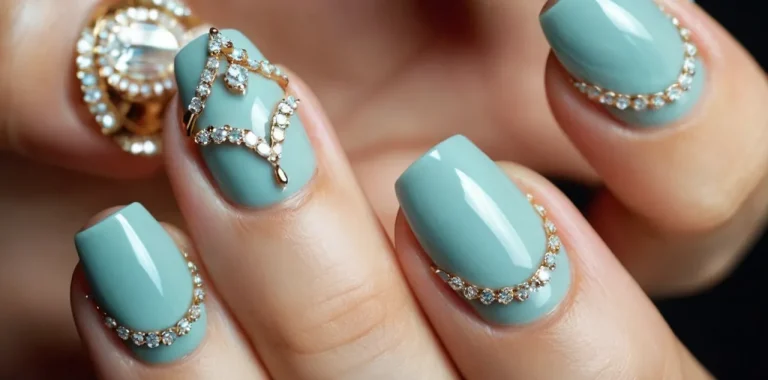
How To Make Diy Nail Decals – The Complete Guide
Nail decals are a fun and easy way to decorate your nails without the mess of nail polish. If you want to customize designs that complement your style, making your own nail decals at home can be a creative DIY project.
If you’re short on time, here’s a quick answer to your question: You can make custom nail decals by printing designs or text on decal paper, cutting them out, and applying a top coat to seal the decals before sticking them on your nails.
This comprehensive guide will walk you through all the steps and tips for designing, printing, and applying homemade nail decals that last.
Pick and Prepare Your Nail Decal Designs
Brainstorm fun nail art designs that match your style
The first step in creating fabulous DIY nail decals is deciding on designs that really showcase your personal flair. Look through fashion magazines and Pinterest boards to find styles you love. Botanical motifs, geometric patterns, inspirational words, cute animals – the options are endless!
Choose several motifs that make you happy each time you look down at your nails.
Find inspiration from sites like Pinterest
Pinterest is a goldmine of nail inspiration, with over 50 million nail art pins to browse. Search for nail decal ideas using keywords like “DIY nail decals”, “nail water decals”, or “custom nail stickers”. Save pins of any decal designs you like to a board for easy access later.
This makes it simple to mix and match elements from multiple pins into your own custom decals.
Use design software to create your own graphics
Get creative by designing your own decal motifs! Programs like Adobe Illustrator or Photoshop make it easy to draw shapes, add text, insert images, apply filters and adjustments to refine your graphics. Watch tutorials for beginners to learn software basics.
Start with simple elements like abstract shapes and phrases before trying more ambitious graphics like faces or landscapes. The design process is lots of fun!
Resize images to fit nail sizes
Fingernails and toenails come in many sizes and shapes. To ensure your graphics display properly on each nail, first measure your nails’ dimensions. Next, reduce or enlarge your designs so main elements fit on a single nail.
For example, a graphic meant for your pinkie nail may need to be nearly twice as big to cover your thumb nail. Leaving some blank space around decal edges also helps them adhere better during application.
Print designs on decal paper
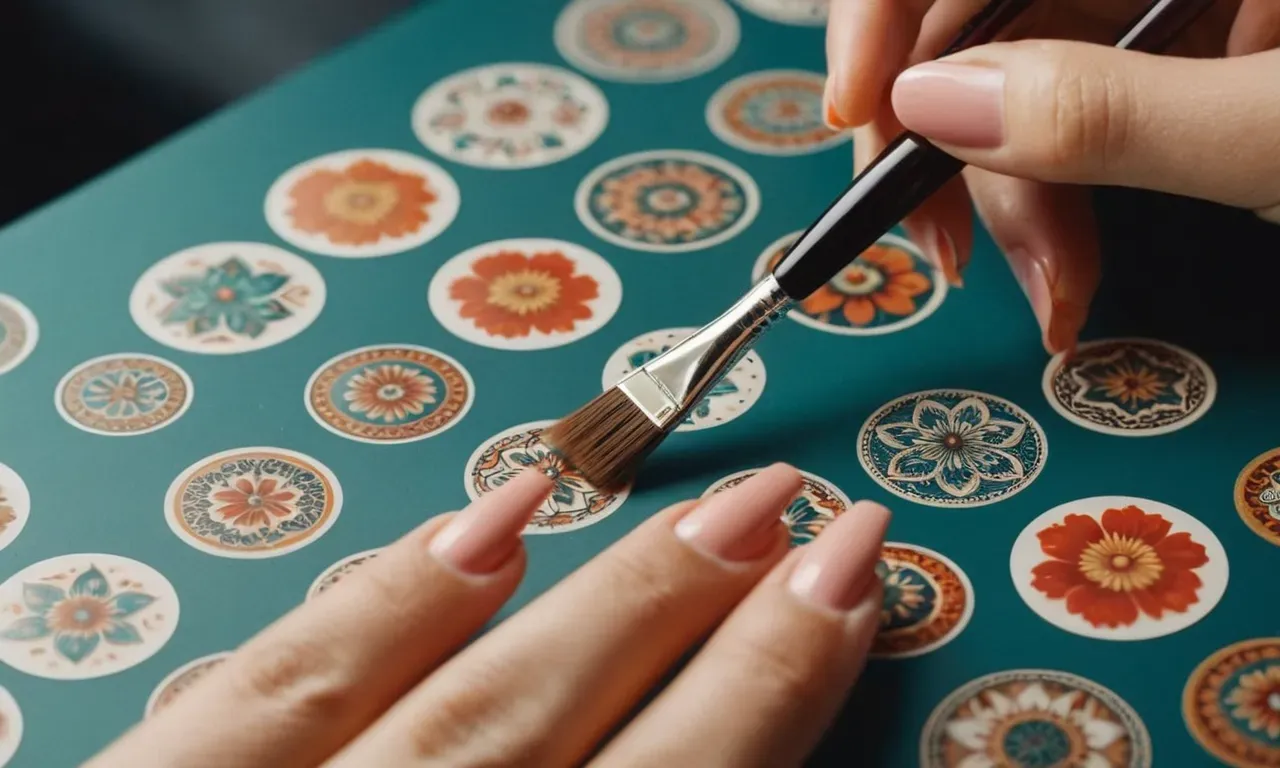
The final pre-manicure step is printing your custom graphics onto sheets of nail decal paper. These have a glossy coating that allows the decals to slide onto nails. Follow printer instructions to set paper type, print quality, orientation and other settings.
Allow decals time to fully dry before attempting to apply to avoid smearing. Now you’re ready to accessorize your nails with your unique DIY decals!
Cut Out and Seal Nail Decal Shapes
When making your own DIY nail decals, carefully cutting out the decal shapes is an important step to get smooth, professional-looking results. Here’s a step-by-step guide to cut out and seal custom nail decal designs.
Carefully Cut Out Decal Shapes
Start by printing your custom nail decal designs onto decal paper or waterslide decal paper. Use sharp scissors or an X-Acto knife to precisely cut out each decal shape. Take your time and cut right along the edges of the printed design.
To avoid tearing the paper, only cut a few decals at a time. And be extra careful around small details in the design that could easily get jagged if you cut too fast.
File Edges Smooth
Once the decals are cut out, use a nail file to smooth any rough edges. Gently file along the outer edges, being careful not to tear or rip the decals. This helps ensure they’ll properly adhere to your nails without lifting up.
An optional step is to seal the edges at this point. Apply a thin layer of clear polish or top coat around each decal’s edges before applying it to your nails. This seals the edges to prevent lifting or peeling.
Apply Clear Top Coat to Seal Decals
After the custom nail decals are applied to your nails, always finish with a layer of clear top coat to seal them in place. This top coat protects the nail decals and helps them last longer without chipping or peeling.
Use a fast-drying top coat formulated for nail polish. Gently apply a smooth layer over the entire nail, completely covering the nail decal and edges.
Sealing DIY nail decals with a quality top coat allows you to get 4-7 days of wear or more. Plus, it prevents damage if the decals come into contact with water while washing dishes or showering.
Apply Nail Decals Step-by-Step
Prep nails by trimming and buffing
The first step is to properly prep your nails. Start by trimming and filing each nail into the desired shape and length using a nail clipper and file. Make sure to buff the surface of each nail with a nail buffer or buffing block to remove any ridges and create a smooth surface for the decals to adhere to.
Buffing gives your nails a nice shine and preps them for long-lasting polish and decals. Take your time with the prep work, as it’s the key to getting decals to stick and last.
Wash hands to remove oil and dirt
Before applying decals or any nail product, it’s essential to thoroughly wash your hands with soap and water. This removes any dirt, oil or lotion that may be present on the nails. Oil and lotion can interfere with proper adhesion of decals.
Make sure to scrub nails and cuticles and rinse very well before drying hands completely. Having clean nails helps decals stick better and prevents lifting or peeling later on.
Apply base coat to smooth nails
Paint a layer of base coat evenly over each nail. Let the base coat dry completely, which usually takes 2-3 minutes. The base coat fills in any remaining tiny ridges on the nails and creates a smooth, even canvas for the decals. It also helps the decals adhere better.
Choose a base coat designed for decals, or at least one that is sticky, not slick. The stickier the base, the better decals will cling to the nails without sliding around.
Place decals and use a tool to stick them on
Once base coat is dry, it’s time to place the decals. Use tweezers or a cuticle pusher to transfer decals from the backing sheet to your nails. Position them exactly where desired, then firmly press down with a silicone decal applicator tool or orange stick.
This sticks the decal securely to the nail and removes any air bubbles. Take your time to position decals perfectly. If needed, you can gently peel up a decal and reposition it before firmly sticking it down. Apply all decals to complete the look.
Apply top coat to seal decals and smooth surface
The next step is to apply a glossy top coat over the decals and remaining exposed nail. This seals and protects the decals while giving an ultra smooth, polished finish. Apply top coat carefully around the edges of each decal to prevent lifting. Let the top coat dry for 5 minutes before moving on.
A top coat is a must for making decals look professionally done and last 2-3 weeks without peeling or chipping.
Finish with cuticle oil for a polished look
Once decals are completely dry, massage a drop of cuticle oil over each nail and cuticle. This nourishes nails and softens cuticles, as well as enhances the completed manicure. Buff over nails one last time with a soft buffing block to remove any tiny bumps and achieve a super slick finish.
Your customized nail decal manicure is now complete! Proper prep, precise decal application and sealing with top coat allows your nail decals to look fabulous for weeks of wear.
Nail Decal Design Ideas and Tips
Quotes, letters, and words for short nails
Short nails provide the perfect canvas for lettering and quotes. Get creative with initials, inspirational words, or lyrics from your favorite songs. Use a thin brush or decal pen to hand letter directly on the nails.
For easy application, create custom vinyl nail decals with phrases or inspirational quotes using a Cricut or Silhouette machine (under $300).
Geometric shapes and patterns for long nails
Longer nail beds allow room for bolder abstract designs. Geometric patterns like lines, dots, triangles, and squares make trendy and artistic nail art. Use nail striping tape to create perfect outlines for filling in with polish.
For glossy filled-in shapes, apply a layer of top coat over decals or hand-painted artwork.
Florals, leaves, animals for accent nails
Accent nails draw attention to a single stylish design against a neutral background. Feature tropical motifs like palm leaves, pineapples, or cute animals on an accent nail. Water decals easily transfer floral and leaf patterns. Allow decals to dry before sealing with a top coat for extended wear.
Ombre decals using nail strips
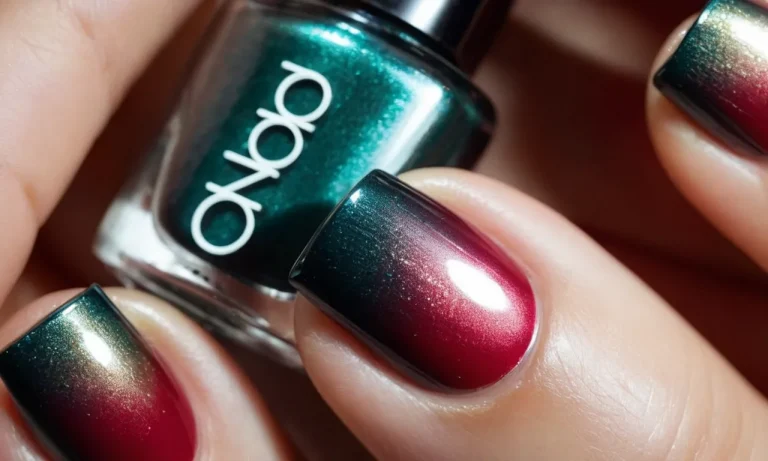
Achieve stunning ombre effects by layering nail polish strips in complementary colors. Apply strips starting with lighter shades progressing into darker tones. Use a metal cuticle pusher to adhere strips smoothly, sealing edges with clear top coat. File away excess plastic using gentle pressure.
Nail strips save time compared to free-hand ombre styles.
Holographic effects with specialty decal paper
Holographic nail decals create show-stopping shine. Print custom designs onto specialty holographic decal paper then apply over a base color for maximum dimensionality. A layered sandwiched effect works beautifully for opulent holiday manicures.
Seal edges carefully and finish with two coats of topcoat to prevent chipping.
Mix and match colors and designs on each nail
Why stick with one design when you can have a different look on each digit? Get creative by mixing colors, patterns, nail art combos across all ten fingers. Start with a neutral base, adding accent nails anywhere you desire. Use vinyls or polish strips for easier application of diverse styles.
Finish off mismatched funky nails with a layer of glossy top coat.
Create holiday themes and custom gifts
DIY nail decals make great gifts or holiday party favors. Design wintery scenes, fun characters, and seasonal motifs perfect for December holidays. Use a Cricut or Silhouette electronic cutting machine to produce outlines, then color with polish, glitter, and rhinestones.
Package completed decals in cello bags tied with ribbon for cute stocking stuffer ideas. Share your nail art talents with friends and family this year!
Conclusion
Making your own customized nail decals at home lets you showcase your personal style at a fraction of the cost of getting them done professionally. With some creativity and decal paper, you can whip up professional-looking nail art without the mess and challenges of painting designs by hand.
So try out this DIY nail decal tutorial to create stunning nail looks that will earn you lots of compliments!

