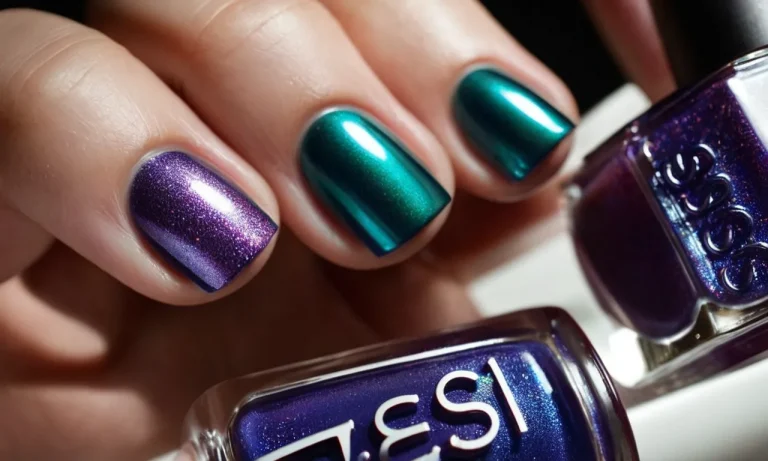
How To Fix Sticky Nail Polish: A Complete Guide
If you’ve ever painted your nails only to have the polish turn gummy and sticky shortly after, you know how frustrating it can be. Sticky nail polish can ruin an otherwise perfect manicure. Luckily, there are several tricks you can try to revive your manicure and get your polish back to a smooth, glossy finish.
If you’re short on time, here’s a quick answer to your question: Rub a small amount of nail polish thinner into each nail to re-liquefy the polish. Then wipe away any excess stickiness with nail polish remover on a cotton ball.
In this comprehensive guide, we’ll cover everything you need to know about fixing tacky, sticky nail polish. You’ll learn what causes nail lacquer to get thick and gummy in the first place. We’ll go over tips for preventing sticky polish in the future.
And we’ll walk through several methods for restoring dried out or gloopy nail polish, from using nail polish thinner to applying a fresh top coat.
What Causes Nail Polish to Become Sticky?
There are a few key reasons why your nail lacquer may start feeling tacky and thick on your nails after application. Understanding the causes can help you avoid this pesky problem.
Exposure to Air
One of the most common reasons nail polish becomes sticky is due to exposure to air. As the lacquer is exposed to oxygen, it begins to partially dry, leaving behind residues that feel sticky or tacky on the nails.
Using a quick-dry top coat can create a protective barrier and prevent air from contacting the underlying layers of polish.
Using Too Much Polish
Applying too-thick layers of lacquer is another culprit for stickiness. As extra-thick applications of polish dry, the layers have trouble setting up properly, leaving them soft and sticky. Using thin, even coats allows for proper drying between layers.
As a rule of thumb, two medium coats of lacquer provides plenty of color while allowing thorough drying time. Rush the process with heavy-handed applications, and you may end up with pliable polish that feels gluey on the nails.
Incorrect Polish Application
If you don’t follow best practices when applying your nail lacquer, it can also lead to disappointing stickiness. For example, applying polish to nails that are moist or have oil on them can prevent proper adhesion and drying.
Use nail polish remover/acetone before starting your manicure to eliminate moisture and prep your nails.
Additionally, forgetting to cap the free edge with each layer of polish allows exposure to air at the tip of the nails. This can lead to tackiness on the edges as the polish fails to properly set up. Be sure to apply a thin coating of polish to the underside of the free edge when finishing each layer.
You can also run into trouble if you apply layers of polish too quickly without allowing proper drying time between coats. Follow the manufacturer’s recommendations for dry time between layers.
Finally, overlooking a quality top coat is one of the biggest mistakes when applying nail polish. A good top coat seals in your color, helps level out minor imperfections, and prevents exposure to air that could cause stickiness. Don’t skip this vital step!
Tips for Preventing Sticky Nail Polish
Use Thin Coats of Polish
Applying too much polish in each coat can lead to tacky, sticky nails that take longer to dry. Instead, use thin, even layers for a smooth finish. The general rule is to apply 2-3 thin coats rather than 1-2 thick coats for long-lasting manicures.
Allow 2-3 minutes of drying time between each layer as well. Rushing the polish drying often results in stickiness.
Cap the Free Edge
Painting just to the edge of your nails creates an unsealed free edge that exposes layers of polish and leads to chipping and stickiness. Be sure to seal the free edge by brushing polish over the tip of each nail.
This helps lock in layers and prevents exposure to air, debris, and moisture that ruins the manicure.
Apply Top Coat Immediately
Once your last layer of color is dry, immediately apply a fast-drying top coat. This seals the underlying polish and helps prevent it from remaining tacky. The experts at Nail Care HQ recommend applying top coat within 5 minutes for best results. Quick-dry top coats also help.
Store Nail Polish Properly
Exposure to light, heat, and air can cause nail polish to thicken and become sticky. Store bottles tightly closed in a cool, dark place like a drawer or box. Refrigeration can also help extend the life of polishes. However, avoid extreme cold as this may cause thickening as well.
Keeping them stored properly prevents the polish inside from deteriorating.
Check Expiration Dates
Did you know nail polish has a shelf life? Most polishes last around 1-2 years from manufacture before ingredients start to break down. Using old or expired polish often creates tacky, gummy applications that simply don’t dry well. Check the labels and toss polishes past their prime.
Following these handy tips will help prevent sticky nail polish results. Be sure to properly prep nails, use fresh polish in thin layers, seal the free edge, apply fast-drying top coat immediately, and store polishes properly closed in a cool, dark area.
With this advice, you can achieve long-lasting, chip-resistant and beautifully shiny manicures.
How to Fix Sticky Nail Polish
Method 1: Apply Nail Polish Thinner
One of the best ways to restore sticky nail polish to its original smooth texture is by adding a few drops of nail polish thinner (like this one from Sally Beauty). The thinner contains solvents that break down the thick, gloopy components and makes the formula spreadable again.
After adding 2-3 drops, roll the bottle between your palms to mix it in properly. Test the consistency by painting some on the back of your hand – it should glide on easily without dragging or clumping up. Reapply more thinner if needed.
Using polish thinner helps save your manicure instead of removing everything to start over.
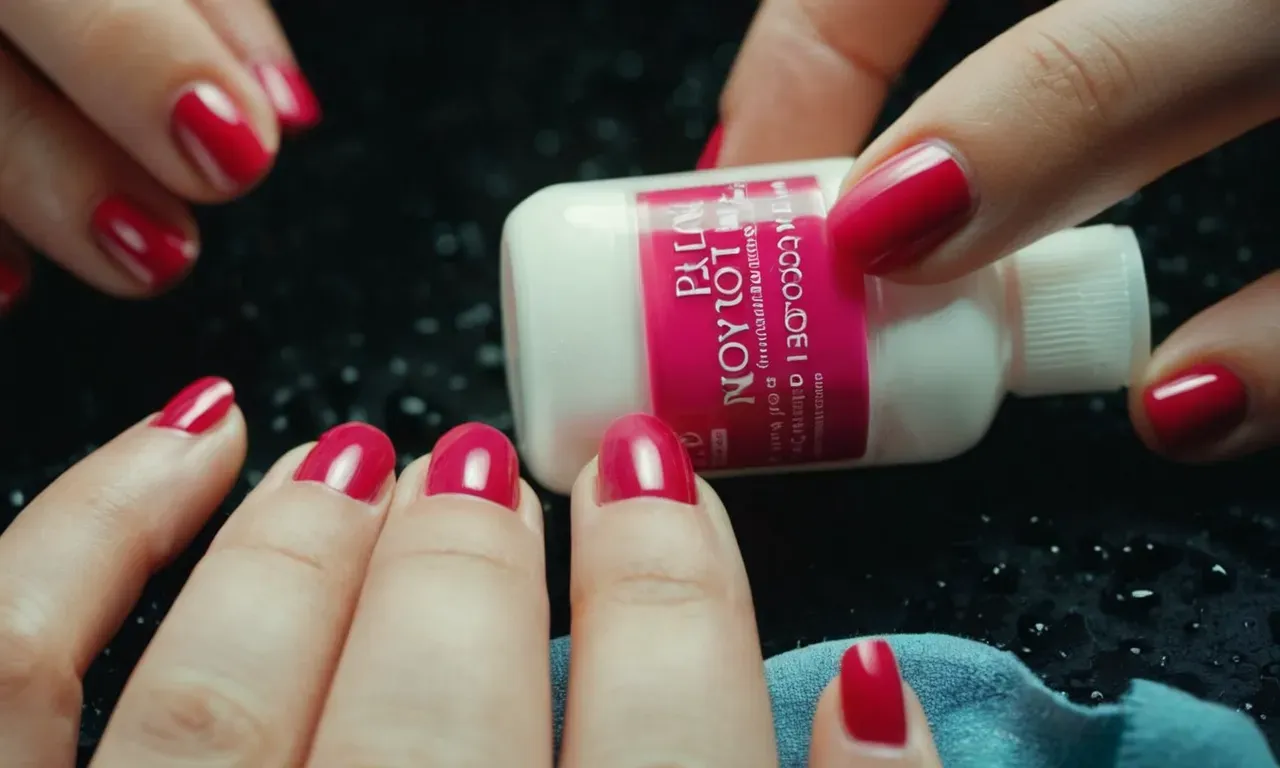
Method 2: Wipe With Nail Polish Remover
Another quick fix is to simply wipe sticky layers of old nail polish off with some acetone-based nail polish remover and a cotton ball or pad. Gently rub the remover over each nail to break down the tacky texture and remove the excess buildup.
Avoid roughly scrubbing or you may damage the surface underneath. Once wiped clean, allow your nails to dry before adding fresh coats of polish. The remover will strip off the stickiness so the new layers glide on smoothly.
Method 3: Spray Hairspray Over Nails
Believe it or not, a couple spritzes of strong-hold hairspray can do wonders to revive gummy nail polish! The alcohol in hairspray helps dissolve the sticky components on the surface. After spraying your nails thoroughly, allow them to dry for a minute or two.
Then wipe them down with a paper towel or cotton pad to remove any residue. The remaining polish underneath should be fixed to a harder, glass-like finish after this trick. Repeat if any tackiness still remains. Just be careful not to overdo the spraying on skin.
Method 4: Apply Quick Dry Top Coat
Slicking on a layer of quick dry top coat is an easy solution for restoring smooth texture. According to nail care experts, top coats contain ingredients that help seal in nail polish and create an impermeable, glossy shield against stickiness.
After prepping nails, use thin and even brush strokes to coat each one. Avoid going too thick or flooding cuticles. The fast-drying top coat will set firmly within 60 seconds, locking away any gunky bits for good polished texture that lasts. Reapply daily to prevent future stickiness.
Method 5: Soak in Acetone-Soaked Cotton Balls
When all else fails, an acetone soak can fully reset sticky polish. Start by wrapping each finger in a cotton ball saturated with pure acetone nail polish remover. Allow 10-15 minutes for the acetone to break down the tacky layers.
Then gently slide off the cotton balls and residue – the polish should lift away easily if soaked enough. Follow up by scrubbing nails with a soft brush and more remover to remove any leftover debris. Once stripped down to clean, bare nails, you can start fresh by allowing them to dry before reapplying your favorite colors.
While harsh, an acetone bath dissolved even the most stubborn stickiness for good.
When to Remove and Re-Apply Nail Polish
Deciding when to remove and re-apply nail polish can be tricky. Here are some tips on determining the right time to start fresh with a new manicure:
1. When the polish is chipped or peeling
This is the most obvious sign that your manicure needs some TLC. Once your nail polish begins chipping or peeling at the tips, it’s time to take it off. Trying to layer more polish over chips will just create thicker, more uneven layers.
2. When the color looks dull or faded
Even if the polish isn’t chipping, if you notice the color starting to look dull or faded, it means the polish is breaking down on the nail. Time for a new layer of fresh, bright color!
3. When the formula gets too thick
As nail polish ages, the formula can start to get thicker. This can make it look gloopy and uneven on the nail. Thick polish also tends to chip faster. So if you notice your polish looking too thick when you apply it, that’s your cue to start over.
4. When it’s been over a week
In general, nail polish starts to break down after 5-7 days of wear. Even if it still looks decent, the formula likely won’t adhere as well to the nail after a week. Get your money’s worth by removing and reapplying every 7 days or so.
5. When you’re bored and want a change!
One of the best things about nail polish is getting to experiment with fun colors and designs. Don’t feel like you need to wait for your manicure to start chipping before switching it up. If you feel like trying a new style, go right ahead and treat yourself to a fresh mani just because.
No matter what the reason, removing and reapplying nail polish regularly helps keep your nails in top condition. With some strategic timing, you can maintain super cute polished nails!
How to Remove Sticky Nail Polish
Has your nail polish become thick and gloppy over time? Maybe the bottle is old or wasn’t stored properly. Whatever the reason, tacky polish can be frustrating to apply smoothly. When you can’t get it off your nails, it’s even more annoying.
Don’t worry – removing sticky lacquer is doable with a few simple steps and supplies. With some rubbing alcohol, cotton balls, tin foil, an emery board, and a little elbow grease, you’ll have clean, polished nails again quickly.
Use an Acetone-Based Remover
Acetone is the strongest nail polish remover and solvent around. It can break down and dissolve just about anything. When dealing with thick, gummy polish, acetone is your best friend.
Start by buying a bottle of 100% acetone nail polish remover, which you can find at any drugstore or beauty supply shop. Make sure it doesn’t contain any oils, fragrances, or other additives – you want the pure stuff.
You can also try an acetone soak-off kit found in the nail care aisle. These include packets filled with acetone-soaked cotton pads for easy application.
Soak Cotton Balls in Remover
Next, pour some remover into a small bowl and soak a few cotton balls thoroughly in the liquid. Wait about a minute for them to become fully saturated.
If using an acetone packet kit, simply open up a pre-soaked pad and get ready to start rubbing it on your nails.
You’ll also want to line up some pieces of tin foil – the smooth, shiny side facing up. These will help hold the acetone-soaked cotton balls against your nails as they sit.
Gently Scrub Off Polish
Once your cotton balls are ready, place one on each fingernail and wrap it gently but snugly with a small piece of foil. The acetone needs full contact with the polish to work.
Let your fingers soak for 10-15 minutes before unwrapping. Then, very gently scrub at the nail polish residue with the cotton. Don’t scrape too hard or you could damage the nail bed underneath.
You can reuse the cotton balls and foil on the same nail for a few rounds until the polish starts coming off. Switch out materials completely every 15 minutes or so.
If needed, use a fine-grit emery board or gentle nail file to help loosen the remaining tacky polish. Carefully file back and forth instead of sawing to avoid weakening your nails.
Repeat this whole process until all traces of icky lacquer are gone. It may take 30-45 minutes total depending on the nail polish situation. But staying diligent with the acetone will pay off.
Once your nails are squeaky clean, apply a hydrating cuticle oil or hand cream. This will soothe the skin and condition your nails after all that harsh chemical exposure.
Now you can start fresh with a smooth base! Just be sure to store polishes properly from now on – in a cool, dark place so they don’t get thick and sticky again.
Conclusion
Sticky, gummy nail polish can be super annoying. But with the right troubleshooting techniques, you can often revive a manicure gone wrong. Try adding thinner or remover to re-liquefy dried out polish. If that doesn’t work, removal and reapplication may be necessary.
Following some simple tips for proper polish application can help prevent stickiness in the future. With these fixes in your arsenal, you can keep your nails looking freshly polished.
We hope this comprehensive guide has given you plenty of solutions for salvaging tacky nail lacquer. Just remember – prevention is easiest, so always use thin coats of polish and apply top coat immediately after painting.
But even if you do end up with sticky nails, you now have the knowledge to get your manicure back in tip-top shape.