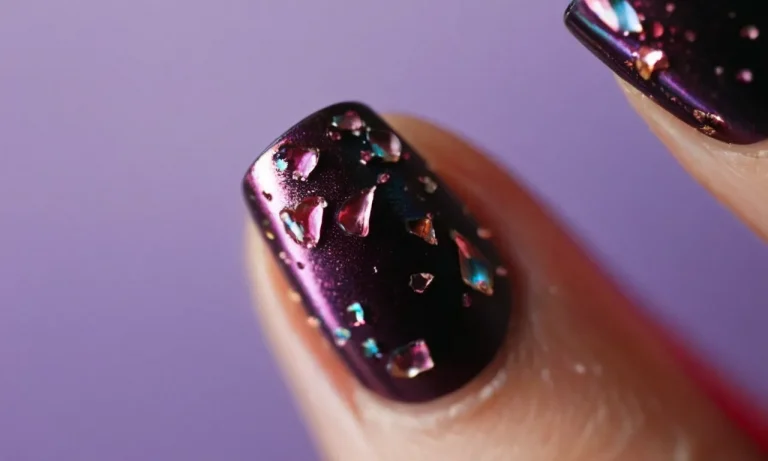
Can You Put Gel Polish On Press-On Nails?
If you love the look of gel manicures but don’t always have the time or money for professional treatments, you may be wondering if you can apply gel polish to the press-on nails you can buy or make at home. The short answer is yes, you can use gel polish on press-on nails.
However, there are some things you’ll need to do to help the polish adhere properly and make it last.
In this comprehensive guide, we’ll cover everything you need to know to successfully apply gel polish to press-on nails. We’ll discuss the supplies you need, how to prepare the nails, the best application techniques, how to cure gel polish properly, how to remove it later, and troubleshooting tips.
What Supplies You’ll Need
Gel polish and top coat
When putting gel polish on press-on nails, you’ll need actual gel polish rather than regular nail polish. Gel polish contains polymers that allow it to cure under UV or LED light. Popular gel polish brands like OPI GelColor, Gelish, and Shellac will work well.
You’ll also need a gel top coat to seal and protect the manicure.
An LED or UV nail lamp for curing
In order to properly set the gel polish, you’ll need an LED or UV nail lamp. Most lamps are LED now as they cure polish faster and emit less heat. Look for one with a built-in timer so you don’t have to time the curing yourself.
Nail dehydrator and pH bonder
Prepping press-on nails before polish is crucial for getting it to adhere properly. Start by using a nail dehydrator to remove oils from the false nail surface. Follow with a pH bonder to help the polish grip to the press-on nail. Using both helps prevent chipping and peeling.
Cuticle pusher and nail file
You’ll need tools to shape and trim the press-on nails for a perfect fit. A cuticle pusher will help ensure no skin is blocking adherence. Lightly file to slim sides or shorten length if needed. Filing also roughens the surface slightly so polish bonds better.
Foil wraps or nail forms
If customizing shape, foil nail wraps or empty nail forms can help. Foil wraps support the underside of the nail so you can file the free edge. Nail forms allow you to cut press-ons to fit exactly from sidewall to sidewall. This optional step takes press-ons from pre-fab to custom fabulous.
How to Prep Press-On Nails for Gel Polish
Choose the right length and shape
When choosing press-on nails, it’s important to select the right length and shape for your nails. Longer, pointed press-ons may not be the best choice if you want to apply gel polish. Opt for a shorter, rounded shape in a length that fits your nail beds comfortably.
This will provide the ideal surface for applying gel polish evenly across the nail.
File and buff the nails
Before applying gel polish to press-on nails, you’ll need to properly prepare the surface. Use a nail file to gently smooth the edges of each nail so they don’t catch or snag. Then buff the surface of each nail with a fine grit buffing block or buffer.
This removes any shine and creates microscopic scratches for the gel polish to adhere to. Take care not to over-file or buff too aggressively. The goal is to roughen up the surface, not thin out the press-on nails.
Use dehydrator and pH bonder
Press-on nails are made of plastic, which means you’ll need to take extra steps to help gel polish bond properly. After filing and buffing, use a nail dehydrator or alcohol wipe to remove any oils from the nail surface. Allow to fully dry.
Next, apply a pH bonding agent, which will help the gel polish grip to the smooth plastic nail. Let the bonder dry as directed before moving onto the next step. Using a dehydrator and bonder ensures your manicure lasts without peeling or chipping.
Optional: Apply nail forms or foil wraps
For added insurance, you can apply nail forms or foil wraps over the press-on nails before painting on gel polish. These act as an additional bonding layer between the polish and the plastic nail. To apply forms, fit a nail form over each press-on nail and seal it with nail glue or acrylic.
For foils, wrap a thin piece of aluminum foil over the edge of each nail and use acrylic or nail glue to adhere it. This seals the underside of the nail and helps prevent lifting. Let dry fully before applying gel polish.
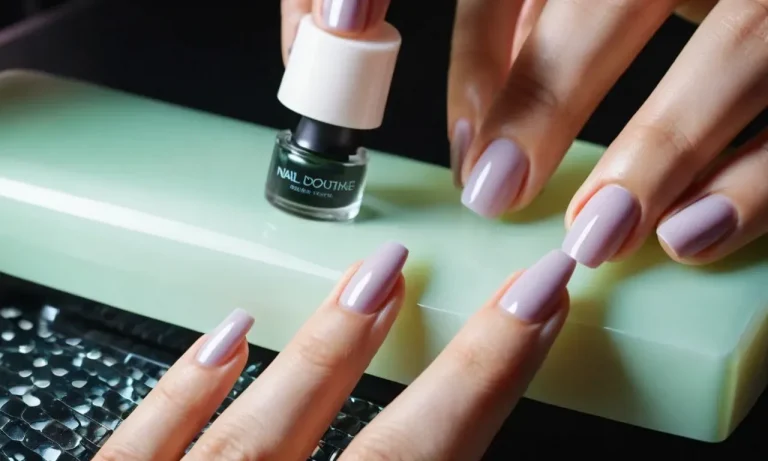
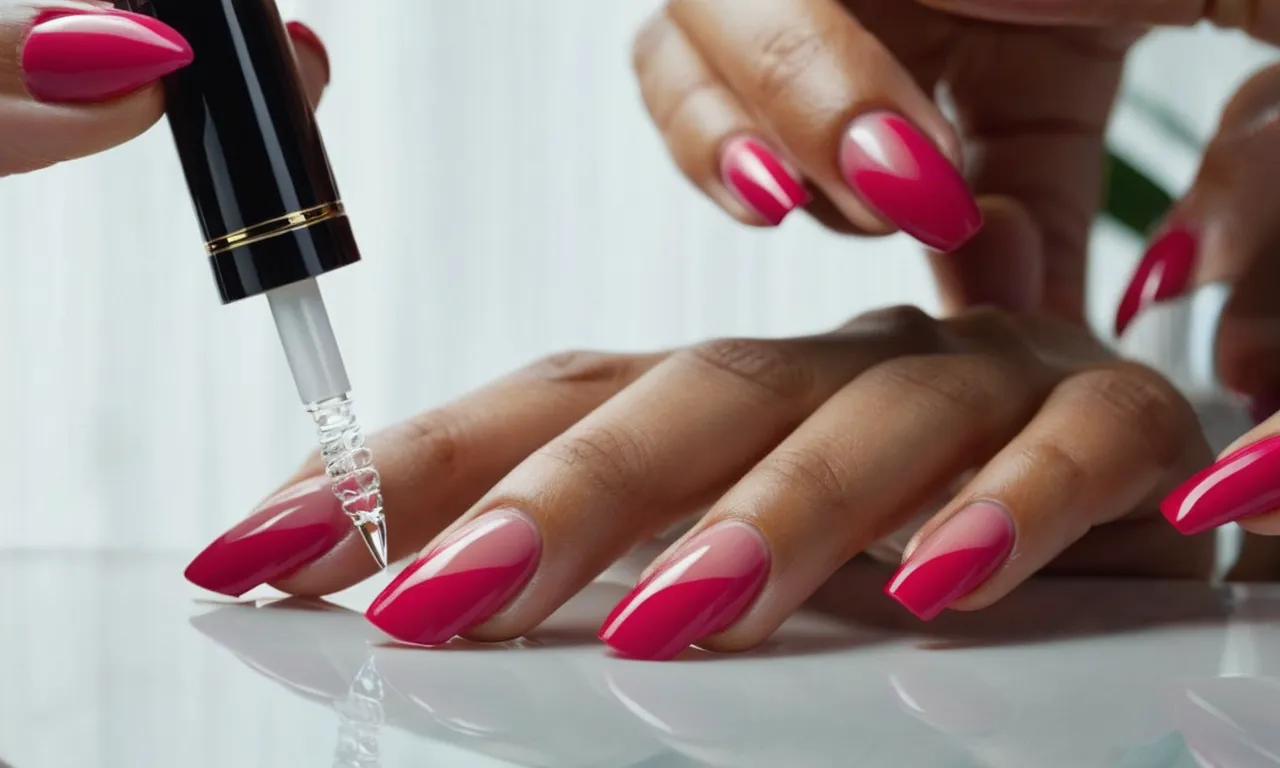
How to Apply Gel Polish to Press-Ons
Paint on 1-2 thin base coats
Start by gently buffing the surface of the press-on nails with a nail file to remove any oils and create a slightly rough texture for the gel polish to adhere to (this is a crucial first step!). Then use a gel base coat specifically formulated for press-ons and apply 1-2 super thin and even layers, allowing each coat to dry slightly before adding the next (Revel recommends waiting 45 seconds between coats).
Let the base coat fully cure under an LED or UV nail lamp for 30-60 seconds.
Apply color coats as desired
The key with gel polishes is applying multiple sheer layers to build up to the desired opacity and color depth, rather than trying to achieve an opaque look in one thick coat. For press-ons, experts advise 2-3 thin coats max.
Make sure to cap the free edge on each coat, and cure each layer properly before adding the next for even application.
Finish with a glossy topcoat
No gel manicure is complete without a glossy top coat to seal it all in! Apply a thin topcoat layer over the color, making sure to cap those tips again. Cure under the LED lamp for a full 60 seconds. This is a great chance to get creative with fun topcoat options like scattered holographic glitters or mirrored chrome powders too.
The possibilities are endless!
Cure each layer under the LED/UV lamp
It’s crucial to fully “lock in” each layer of gel polish by curing under the light properly. Follow the product instructions, but general cure times are 30-60 seconds under LED or 2 minutes under UV lamps. Rushing this step leads to chipping and peeling.
For press-ons, be sure to hold them upside down while curing to prevent shadows on the underside nail bed area. And remember – no wiping tacky layers in between! Just cure and add the next coat.
Gel Polish Removal from Press-On Nails
Using acetone nail polish remover
The most effective method for removing gel polish from press-on nails is using 100% pure acetone. Pure acetone works quickly to break down the polymer bonds that adhere the gel polish to the false nail. Here are some tips for using acetone remover:
- Choose a high-quality acetone remover labeled as 100% pure acetone or acetone for artificial nails. Drugstore brands may be diluted.
- Buff the surface of the gel polish gently with a nail file first to reduce some of the layers before soaking.
- Soak each press-on nail in acetone for 10-15 minutes until the gel polish bubbles up and can be wiped away.
- Use foil wraps or small bowls for soaking instead of cotton balls to fully immerse each nail.
- Gently scrape off any remaining gel polish with an orangewood stick after soaking.
- Avoid pulling or peeling as this can cause the actual press-on nail to lift or break.
Acetone remover works quickly but can cause dryness. Apply cuticle oil after removing gel polish to rehydrate the nails.
Soaking cotton balls vs. foil wraps
There are two common methods for soaking off gel polish with acetone – using cotton balls or using foil nail wraps. Both work effectively but have some differences.
Cotton balls:
- Easy and convenient. Cotton balls are readily available.
- The acetone evaporates faster, so you may need to re-soak the cotton balls repeatedly.
- It can be messy with drips if not careful.
- Harder to keep the nail fully immersed in acetone.
Foil wraps:
- Keeps nails fully saturated in acetone for better results.
- Conforms tightly to the nail so acetone doesn’t evaporate as quickly.
- Creates a closed environment, so the fumes are contained.
- Can reuse foil wraps.
- Slightly more difficult to use than cotton balls.
For press-on nails, foil wraps tend to work better as they keep the artificial nails fully soaked in acetone. However, either method will get the job done!
Filing off gel polish
filing gel polish off press-on nails is possible, but not recommended. Here’s why:
- Very time consuming to file off multiple layers of hardened gel polish.
- Causes more damage to the press-on nail surface.
- Can potentially weaken or crack the press-on nail.
- Doesn’t remove all residue, leaving a rough texture.
Filing works for a quick gel polish repair or thinning it down before removing. But for a full removal, soaking in acetone is a much better option. The acetone dissolves the gel polish layers without damaging the press-on nail underneath. Save filing for shaping the nails after the gel is removed.
Preventing damage to the press-on nail
Press-on nails can become damaged during gel polish removal if you aren’t careful. Here are some tips to keep press-ons intact:
- Avoid pulling or picking at the gel polish. Let the acetone do the work.
- Soak in acetone long enough for easy removal, usually 10-15 minutes.
- Don’t scrape too hard when cleaning residue off with an orangewood stick.
- Prevent moisture getting under press-ons from acetone over-soaking.
- Adhere press-ons properly and check periodically for lifting.
- Get press-ons reapplied or filled every 2-3 weeks.
- Don’t use metal tools or abrasive buffers to remove gel.
Press-on nails and gel polish are a great combination with the right removal techniques. Following these acetone soaking tips will keep your press-ons in top shape for many wearings.
Troubleshooting Problems
Polish peeling or popping off
One of the most common issues with gel polish on press-on nails is the polish peeling or popping off prematurely. Here are some tips to troubleshoot this pesky problem:
- Make sure you prep the nail surface properly – Lightly buff the press-on nails to create a rough surface for the polish to adhere to. Wipe with nail polish remover to dehydrate the surface.
- Don’t skimp on the base coat – Choose a sticky base coat specifically formulated for gel polish application. Allow to dry fully before applying color.
- Avoid flooding the cuticle – Cap the free edge but avoid getting polish on the skin or cuticles as this can cause lifting.
- Use thin coats of polish – Thick layers are more likely to peel. Do 2-3 thin coats for full coverage and a smooth look.
- Cure properly – Follow lamp instructions for full curing time. Undercured gel can weaken the bond.
- Finish with a good top coat – This seals in the color and protects the manicure. Look for a glossy top coat.
- Avoid water exposure for ~24 hrs – Let the polish fully harden before exposing to moisture which can cause lifting around the edges.
Taking the time to prep and apply gel polish correctly makes a big difference. But even then, gels can start lifting off of press-ons after 5-7 days. Touch up tips and reapply top coat to get a little more wear.
Brittle or damaged press-on nails
Gel polish requires some prepping and curing under UV/LED light. This can lead to dryness and brittleness, causing press-on nails to crack or break. Here are some tips to avoid damage:
- Use nail dehydrator sparingly – Excessive use can dry out the nails. Just wipe lightly before base coat.
- Apply cuticle oil – Hydrate and replenish natural oils before applying polish.
- Limit light exposure – Don’t over-cure gel polish. Follow system directions.
- Avoid harsh removers – Look for gel-specific removers that are less damaging than acetone.
- Take a break between manicures – Give press-ons a rest from polish and treatments.
- Moisturize hands and nails – Massage in cream regularly to condition the nails.
- Supplement with biotin – Some studies show biotin supplements can help strengthen brittle nails.
It’s also a good idea to avoid very lengthy wear of press-ons. The temporary nails can get stressed and dry while on for 2+ weeks. Plan to change them out before they get too damaged.
Cloudy, dull or streaky polish
Gel manicures should have a super shiny, glass-like finish. But sometimes, the polish can turn out cloudy, dull or streaky instead. There are a few potential causes of this:
- Product contamination – Double-dipping with the brush can transfer old polish into the new and cause clumping.
- Undercured gel – Not leaving polish under the LED/UV lamp long enough prevents full hardening.
- Overworking the polish – Too much brushing while applying can create bubbles and streaks.
- Too many layers – More than 3 coats can start to cloud or get thick.
- Oily nail surface – Natural nail oils prevent polish from adhering smoothly.
- Thick or old top coat – Old, dried out top coat loses its shine and smoothing ability.
Preventing contamination, allowing each layer to fully cure, applying thin coats, and properly prepping the nails can help avoid clouding issues. Choose a fast-drying top coat and replace regularly for best shine.
Press-ons feeling uncomfortable
While press-on nails offer a quick and easy option, occasionally they can start feeling uncomfortable, painful or just not fit right. Here are some tips for press-ons that don’t feel good on your nails:
- Look for optimal fit – Different sizes and shapes help find the best fit for your nails.
- File down sharp edges – Gently smooth rough or rigid edges, don’t cut skin.
- Use thinner adhesive – Thick glue can cause pressure and discomfort on the nails.
- Avoid over-trimming – Cutting natural nails too short leaves no free edge for press-ons.
- Watch alignment – Off-center press-ons put uneven pressure on nails.
- Give fingers a break – Allow nails to recover naturally for a few days.
- Moisturize cuticles – Keep skin conditioned to avoid hangnails under press-ons.
Being mindful of getting a comfortable fit and giving your nails an occasional rest can help prevent press-ons from feeling painful or pinching. Speak to a nail tech if problems persist.
Conclusion
While traditional nail polish may be simpler for press-ons, you don’t have to miss out on the long-lasting shine and durability of gel polish. With the right supplies and preparation, gel can adhere and cure very well on artificial nails.
Following the application, removal, and troubleshooting tips covered here will help you get the most out of your press-on manicures with gel polish.
So go ahead and experiment with color, art, and effects! Just remember to take good care of the press-on nails underneath by starting them off smoothly, building up thin gel layers slowly, and removing the polish gently at the end. Let us know how gel manicures on your press-ons turn out!