Can You Put Acrylic Over A Broken Natural Nail?
Dealing with a broken nail can be annoying and even painful. You may be wondering if you can just put acrylic over the break to protect it while it heals. The quick answer is yes, applying acrylic over a broken natural nail is possible, but there are some important things to consider first.
In this comprehensive guide, we’ll cover everything you need to know about putting acrylic over broken nails. We’ll discuss the pros and cons, what to do before application, tips for a safe and effective application, and aftercare recommendations once the acrylic is on.
Pros of Putting Acrylic Over a Broken Nail
Provides protection while the nail heals
Applying an acrylic overlay over a cracked or broken natural nail can help protect the exposed nail bed while it mends. The acrylic acts as a protective shield, preventing further trauma or irritation to the delicate nail bed tissue.
This allows the natural nail to safely regrow underneath without risk of catching or tearing. An acrylic overlay can buy time for the nail to fully heal before exposing it to normal wear and tear again.
Statistics from nail care associations suggest up to 15% of adults experience a split or cracked nail each year, often from everyday activities. Acrylics allow people to continue daily life while avoiding more damage.
Can help avoid further breakage or splitting
Pressing an acrylic application over a broken nail can also help prevent additional cracking or splitting. The rigid acrylic soaks into natural nail layers to reinforce and stabilize the remaining intact nail. This sturdy structure helps deter the crack from worsening or new cracks from forming.
For those prone to brittle nails that peel or tear easily, acrylic overlay provides a durable shield above the natural nail. Over time, the natural nail may gradually thicken and harden too, especially as it regrows to fill any cracks. So acrylics aid long term nail health.
Makes the nail appear nicer cosmetically
Of course, beyond just protection, acrylics also offer aesthetic benefits. Filling over an uneven, jagged cracked nail with smooth acrylic can improve its appearance immensely. The overlay creates an even, flawless-looking nail surface and neatly covers any exposed nail bed.
An acrylic finish can mimic immaculate natural nails.
Acrylic overlays allow for endless options for length, shape, and polish too. So they can make nails seem healthier while healing any damage underneath. Over 80% of acrylic wearers in surveys cite the cosmetic boost as a chief reason for applications.
Cons of Putting Acrylic Over a Broken Nail
The break could worsen if not prepped properly
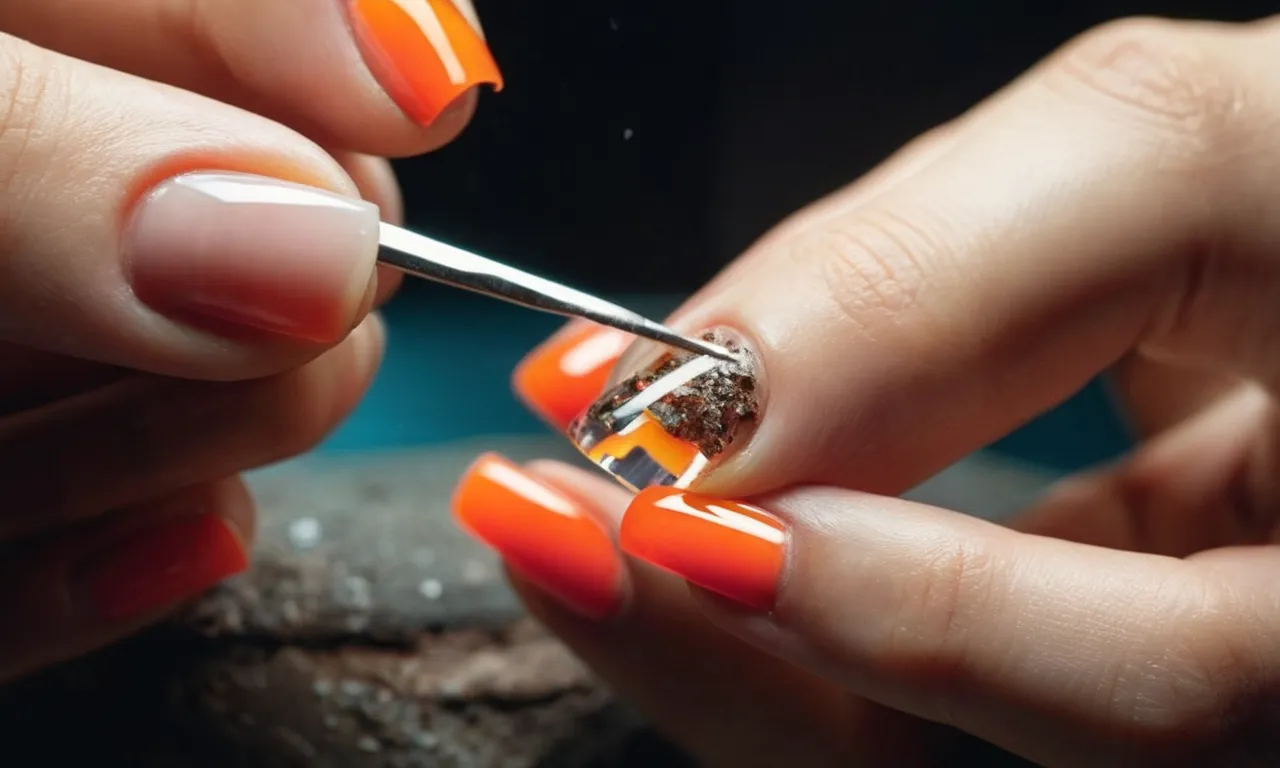
Applying acrylic over a broken natural nail without properly prepping the nail first carries risks. The underlying break in the natural nail remains fragile. Without smoothing and sealing the edges, acrylic will not bond correctly.
This leaves room for the crack to continue spreading under the acrylic, resulting in more breaks. The acrylic may pop off unexpectedly, worsen the original break, or even lead to losing more of the natural nail. Proper preparation like lightly buffing and dehydrating is essential.
Could lead to lifting or improper bonding
Rushing into an acrylic overlay on a broken nail often causes bonding issues like lifting or cracking. The natural nail and acrylic don’t fuse properly. Tiny gaps at the edges of the break let air pockets form, weakening the acrylic’s grip. Lifting can lead to snagging and more breaks.
Avoid problems by patiently prepping the nail bed for acrylic. Lightly buff over the broken edge so it isn’t sharp and trim any loose pieces. Then use a dehydrator and primer so the acrylic can adhere correctly.
Moisture and debris may be trapped under acrylic
When a nail breaks, the inner nail bed is exposed. This means oil, moisture, and debris can get trapped between the natural nail and acrylic overlay. Trapped contaminants prevent solid bonding. Plus, moisture is a breeding ground for fungus and infection in the damaged nail bed.
Never apply acrylic until the nail is cleaned, dried, and sealed. Be vigilant about maintaining acrylic on a broken nail to avoid trapping moisture against the skin. Look for warning signs like a milky-colored acrylic underside or dark green discoloration indicating fungal growth.
What to Do Before Putting on the Acrylic
Clean nail thoroughly
Before applying acrylic over a broken natural nail, it is crucial to thoroughly clean the nail and surrounding skin. Use soap and water or an alcohol-based cleanser to remove any oil, leftover polish or debris. This will allow the acrylic to properly adhere to the natural nail.
Gently scrub around and under the nail with a small brush. Rinse and dry completely. A clean nail is the base for success!
File and shape nail
The next step is to file and shape the broken nail. Use a fine-grit nail file to gently smooth any jagged edges or uneven surfaces. File the top of the nail into the desired shape, keeping the edge thin so acrylic can easily be applied over it. Avoid over-filing the nail surface.
Light buffing can help roughen it up for better acrylic adhesion. Remember to dust away all nail dust when finished filing and buffing. Take your time with this step to get the shape just right!
Use primer or dehydrator
Applying a primer or dehydrator is crucial before acrylic application. These products will remove any lingering moisture and oils and prep the nail for the acrylic. Brush a thin, even layer of primer or dehydrator over the entire natural nail and let it dry.
This creates a tacky surface that acrylic can grab onto. Using a primer as directed will help the acrylic bond properly and last much longer without lifting or cracking off the natural nail underneath. Don’t skip this step!
Consider using forms for support
For added structure and support, consider placing a nail form under the nail before applying acrylic over a broken natural nail. This will help reinforce the nail and prevent further cracking or breaking. Here’s how:
- Choose a nail form that fits just under the nail, touching the finger on both sides.
- Lightly pinch the form to create a slight curve and slide it under the nail so the well sits against the bottom of the nail.
- Apply acrylic over the nail and form together as one unit.
- Once dried, gently remove the form to reveal a strong, sturdy acrylic nail.
The form provides stability as the acrylic sets and adheres to the natural nail. This helps prevent lifting or cracking of the acrylic as the nail grows out. Using a form is optional but highly recommended for added reinforcement.
Tips for Safe and Proper Acrylic Application
Apply thin even coats
When applying acrylic over a broken natural nail, it’s crucial to use multiple thin, even coats instead of globs. Thick acrylic application can lead to lifting, cracking, and even more breakage. Aim for 2-3 super thin coats, allowing each to cure completely before adding the next.
This creates a smooth, sturdy enhancement that protects the natural nail underneath.
Ensure proper curing between coats
Rushing the curing process is one of the biggest mistakes when using acrylics. Fully curing each layer ensures proper bonding and reduces the risk of bubbles, cracking, and lifting. After each coat, let it cure under the LED or UV lamp for the full manufacturer’s recommended time – usually 30-60 seconds.
Don’t skimp on this step for quicker application.
Seal the free edge with acrylic
Exposing the thin free edge of the natural nail leaves it prone to more breaks. After your thin layers are applied and cured, use a small bead of acrylic to seal and reinforce the free edge. This protects it from snagging and further damage.
Be careful not to over-file this acrylic edge later on, as you want to maintain that strengthened barrier.
File and shape once done
Once the full acrylic application is complete, filing and shaping creates a smooth, even surface. Use a fine-grit nail file in one direction across the entire nail to prevent too much stress on the natural nail. Don’t use heavy pressure, just gentle shaping. Finish by buffing for a glossy shine.
Proper filing helps the acrylic and natural nail blend together seamlessly.
Aftercare Tips Once Acrylic is Applied
Keep Dry During First 24 Hours
After your acrylic nail service, it is crucial to keep the area dry for the first 24 hours. Exposure to water can weaken the nail enhancement bond and cause lifting or peeling. Be extra careful when washing hands or doing chores involving water.
Also avoid using nail polish or nail polish remover during the initial 24 hour period, as these products can have ingredients like acetone that break down the acrylic chemistry. Keep nails bare while the enhancement layers fully cure and harden.
Apply Cuticle Oil Daily
Using a daily cuticle oil is imperative for retaining nail health after acrylic application. The cuticle oil nourishes the nail bed, improves flexibility, and prevents cracking or breakage.
Look for cuticle oils containing moisturizing ingredients like jojoba, vitamin E, and coconut oil. Ensure to massage a small drop over each entire nail and surrounding skin 1-2 times per day.
File Surface Gently If Needed
You can very lightly file the top surface of the acrylic nail if any bumps arise, but never aggressively file or buff the enhancement layer. Harsh filing thins out the acrylic thickness needed for reinforcement.
If gently smoothing with a 240/320 grit nail file, always file in one direction rather than a back-and-forth motion to prevent weakening nail integrity. Also avoid closing filing near or underneath the free edge tip.
Schedule Fill Appointment Every 2-3 Weeks
As your natural nails start growing out beneath the acrylic, a gap will form between the cuticle area and enhancement tip. Schedule routine nail fill appointments with your technician every 2 to 3 weeks to maintain optimal extension length and appearance.
Conclusion
Putting acrylic over a broken nail can help protect it temporarily while it heals. With proper preparation and application, acrylic can be an ideal option. Be sure to care for the acrylic properly once it’s on and schedule regular fill appointments.
With our tips, you can safely and effectively put acrylic on broken nails.


