Can You Put Acrylic On Full Cover Nails? A Detailed Guide
Acrylic nails have been a popular nail enhancement for decades, allowing people to achieve long, strong nails that can be sculpted into various shapes and designs. More recently, full cover press-on nails have surged in popularity as an easy DIY alternative to acrylics or gels.
This raises an important question – can you apply acrylic over pre-made full cover press-on nails? Let’s take a detailed look at the answer.
If you’re short on time, here’s a quick answer: Yes, you can apply acrylic over full cover press-on nails. However, it requires proper prep and technique for best results and longevity.
The Benefits and Drawbacks of Combining Acrylic and Full Cover Nails
Benefits:
Combining acrylic and full cover nails offers some great advantages for your nails. Here are some of the key benefits:
- Added strength and durability – Applying acrylic over full cover nails creates an extra layer of protection and reinforcement. This helps prevent the full covers from cracking, chipping or popping off.
- Longer lasting manicure – With the acrylic overlay, your full cover manicure can last 3-4 weeks or more without needing fills or replacements. This saves you time and money.
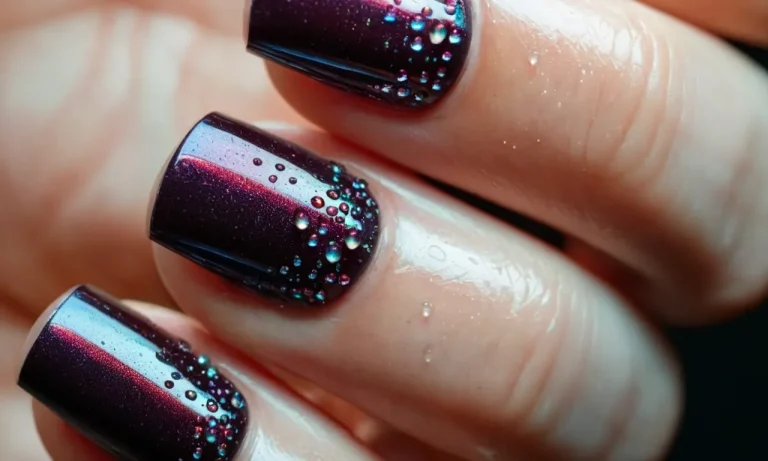
- Seamless finish – Brushing acrylic over the full cover nails helps create a smooth, flawless finish by filling in any gaps or edges between the nail tip and your natural nail.
- Thicker and stronger tips – You can build up and reinforce the nail tips with acrylic for a more durable, long-lasting nail extension.
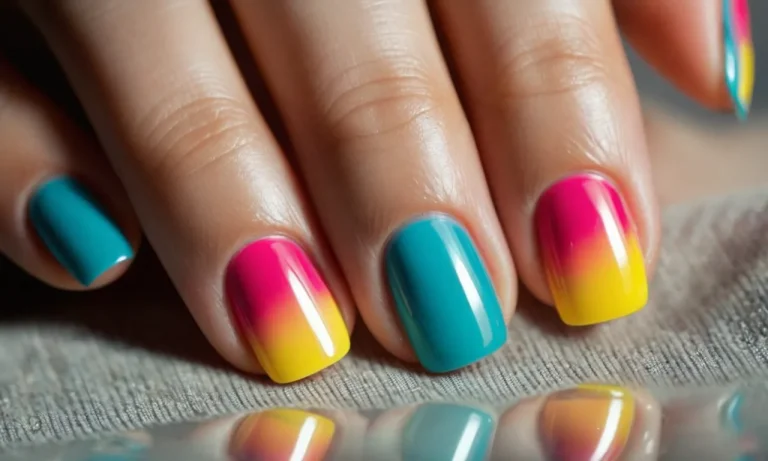
- Fuller nail look – Applying acrylic product lets you customize the shape and get the volume you want for a natural, fuller nail appearance.
Drawbacks:
However, there are also a few potential downsides to be aware of with this nail technique:
- Extra time and cost for application – Getting both full cover nails and acrylic/gel requires more time and money during your salon visit for the added products and work.
- Higher risk of lifting – With two products on the nails, there is increased risk of chipping, cracking or lifting, especially if not applied properly.
- Difficulty with removal – Taking off two layers of enhancement makes the removal process more challenging and damaging to the natural nail if done improperly.
- Excessive thickness – Piling on too much acrylic over full cover nails can make them uncomfortably thick and heavy on your natural nails.
To avoid potential issues, make sure your technician is experienced with this technique and instruct them on the finished look you want. Proper application and well-done infills will be key to making the manicure last and having a positive enhancement experience overall.
How to Apply Acrylic Over Full Cover Nails
Prep the Full Cover Nails
Before applying acrylic over full cover nails, it’s important to properly prepare the nails first. Here are the key steps:
- Lightly buff the surface of the full cover nails with a nail file or buffer. This helps the acrylic adhere better.
- Wash the nails with soap and water to remove any dirt, oil or debris.
- Use a nail dehydrator or alcohol wipe to remove any moisture and oils from the nail surface.
Rough Up the Surface
After prepping, you’ll want to rough up the surface of the full cover nails a bit. This helps the acrylic grip onto the smooth plastic nail better. Use a 100/180 grit nail file to gently rough up the surface of the nails. Don’t file too much, just a light scuffing is needed.
Clean and Dehydrate
Before applying acrylic, it’s crucial to thoroughly clean and dehydrate the full cover nails:
- Clean nails with 70% isopropyl alcohol to remove any oils or residue.
- Use a nail dehydrator to remove moisture and prep nails for acrylic application.
Proper cleansing and dehydration prevents lifting or peeling of the acrylic. Let nails air dry completely before moving onto the next step.
Apply Nail Primer
Once nails are prepped, apply a thin layer of nail primer over the entire surface of the full cover nails. The primer enhances adhesion and allows acrylic to grip onto the plastic nail. Let the primer dry fully before applying acrylic.
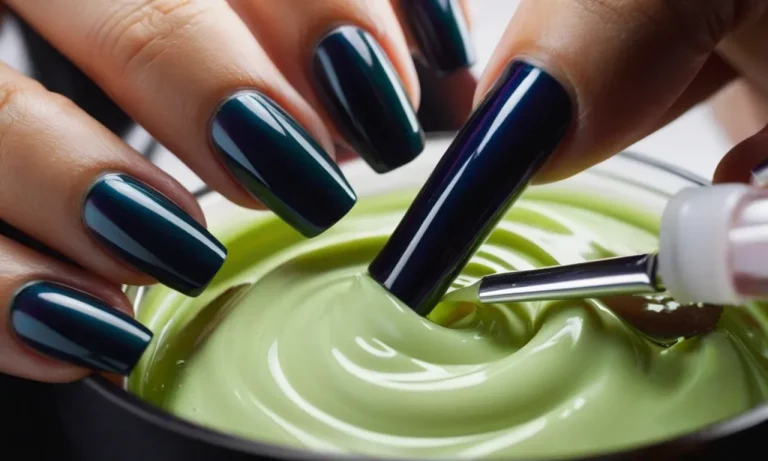
Apply Acrylic as Usual
After priming, you can apply acrylic overlays as you normally would on natural nails. Here are some tips for application:
- Apply acrylic beads and brush over nails to desired thickness.
- Shape and refine the acrylic extension edge as preferred.
- Remember to not overlap acrylic onto the skin or side walls.
And you’re all set! With proper application and nail care, acrylics can last 2-3 weeks on full cover nails before needing fills.
Acrylic Application Tips for Full Cover Nails
Use Forms for Support
When applying acrylic to full cover nails, using proper forms is crucial for providing structure and support. Here are some tips for getting the most out of your forms:
- Choose forms that are designed specifically for full cover application. They should have a deep, narrow well to help build the stronger apex needed for extensions.
- Make sure to fit the form tightly against the natural nail plate to prevent acrylic seepage around the cuticles.
- Consider double-stacking forms for extra strength and stability when building lengthy nail extensions.
- Use forms with reinforcement ribs or perforated edges to maximize sturdiness.
Having the right forms for full cover application will make the sculpting process easier and give your enhancements the durability to last.
Focus on Stress Points
When acrylic is applied to full cover nails, the enhancements experience more stress and pressure than natural nails or overlays. It’s important to focus on reinforcing areas that will be subjected to the most tension.
Here are key stress points to concentrate acrylic application:
- The side walls, to prevent cracking or splitting
- Just beyond the free edge, where leverage pressure occurs
- The cuticle area, to avoid lifting
- Under the tip, to support length
Be sure to apply thicker acrylic layers and use brushing techniques like backstroke and patting to fortify these zones. Creating strength where it’s needed most will extend the wearability of full cover acrylics.
Watch Your Acrylic Consistency
Maintaining the ideal acrylic viscosity is vital for flawless application on full cover nails. Here are consistency tips:
- Keep your bead wet but not runny. Having a thicker, more clay-like consistency prevents sagging and allows greater control.
- Test the tackiness before applying. It should remain slightly sticky to grab onto the nail surface.
- If the bead loses its shape or spreads too thinly, the acrylic is likely too thin. Try a wetter bead.
- Avoid cold, lumpy beads. Either the acrylic is too dry or product ratios are off. Add more liquid monomer.
Monitoring consistency ensures the acrylic cures properly for maximum strength and adhesion on full covers. Adjust the monomer amounts as needed for ideal application properties.
File and Shape Carefully
Filing and shaping are pivotal finishing steps for full cover acrylic nails. Use proper techniques to prevent weak spots:
- Shape the extension with just enough length and curvature to support the nail tips.
- Use a light-grit file in one direction rather than sawing back and forth.
- Focus on thinning and perfecting the tip area to remove any bulk.
- Avoid over-filing near the cuticles or sidewalls where acrylic should remain thicker.
- Smooth and seal the surface with buffing for maximum shine and protection.
Careful filing and shaping removes excess material while supporting the structure crafted during application. The result is a flawless yet durable acrylic full cover manicure.
Caring for Full Cover Nails with Acrylic Overlay
Moisturize and Nourish
Full cover acrylic nails can leave your natural nails feeling dry and brittle underneath. It’s important to moisturize and nourish them regularly. Massage vitamin E or coconut oil into your nail beds and cuticles daily. You can also apply a hydrating nail balm underneath the acrylics.
Avoid soaking off the acrylics too frequently, as this can weaken the nails. If you notice flaking or peeling, use a gentle nail file to smooth the surface – don’t pick at them!
Avoid Picking and Peeling
Speaking of picking and peeling, this is a big no-no with acrylic nails! You should never pick at lifting edges or peeling acrylic, as this can damage the natural nails underneath. If you notice any lifting near the cuticles or sidewalls, head to your nail salon promptly to have it repaired.
Picking can allow moisture underneath the acrylic which leads to more lifting and cracks. It’s tempting, but resist!
Use Cuticle Oil
Using cuticle oil is one of the best ways to keep your natural nails healthy under the acrylics. Brush it over your cuticles and nail beds 2-3 times per day. Jojoba oil, vitamin E oil, and coconut oil all work well. This hydrates the nails, prevents hangnails, and improves adhesion of the acrylic.
Having dry, cracked cuticles increases the risk of lifting and infection.
Fill Gaps Promptly
As your natural nails grow out, gaps will begin to form between the cuticle area and your acrylic overlay. It’s important to get these filled as soon as possible to prevent lifting and debris becoming trapped underneath. Most salons recommend a fill every 2-3 weeks.
Skipping fills can allow sections to pop off, and may mean having to remove and reapply the whole set. Staying on top of your fills helps the manicure last longer!
Acrylic vs Gel Over Full Cover Nails
When it comes to choosing between acrylic or gel for application over full cover nails, there are some key differences to consider.
Durability
Both acrylic and gel can provide durable enhancements over full cover nails. However, gel is generally considered more flexible and less prone to cracking or breaking compared to acrylic. The polymer chains in gel allow it to flex with the natural movements of the nail better than rigid acrylic.
Application and Curing Process
Acrylic requires mixing a liquid monomer and polymer powder to apply. It cures through an exothermic reaction, generating heat. This can cause discomfort for some people. Gel doesn’t require mixing – it comes ready to apply. It cures under UV or LED light, avoiding heat against the natural nail.
Removal Process
Soaking off gel can take longer compared to acrylic since gel adheres very well to the nail plate. That said, removing either enhancement from a full cover nail is less damaging compared to removing them from natural nails.
Use an acetone-free gel polish remover to avoid damage to the full cover nail.
Cost
| Method | Cost |
|---|---|
| Acrylic | $$ |
| Gel | $$$ |
Gel polish tends to be more expensive up front. However, it may cost less over time with its longer wear and glossy finish that lasts 2-3 weeks on average.
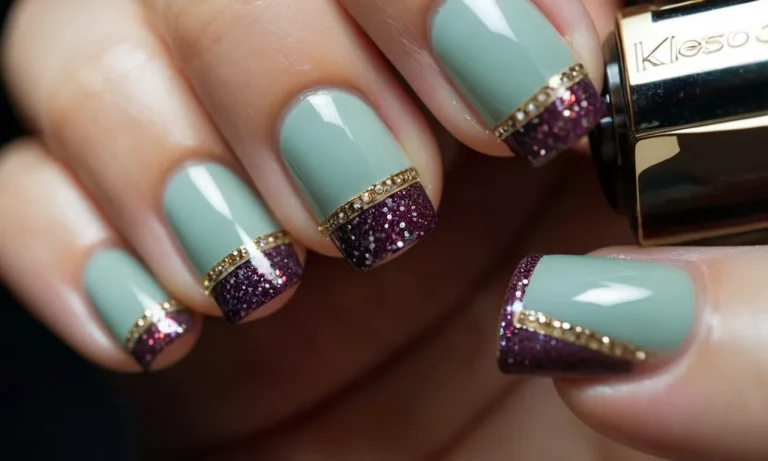
Appearance
The flawless, glass-like finish of gel makes it a popular choice. Acrylic can appear more opaque and textured in comparison. That said, advancements in acrylic formulas allow for beautiful, customizable enhancements too.
Allergies
Those with skin sensitivities or allergies may react less to gel since it doesn’t involve chemical fumes during application. Disposable gloves should still be worn with either enhancement method.
Conclusion
While acrylic and full cover press-on nails are very different products, you can successfully combine them for a hybrid manicure. With proper preparation and application, acrylic overlays allow you to reinforce and customize the look of pre-made full cover nails.
However, the acrylic overlay also requires meticulous maintenance and removal. For best results, visit a professional nail technician to have acrylic applied over full cover nails.